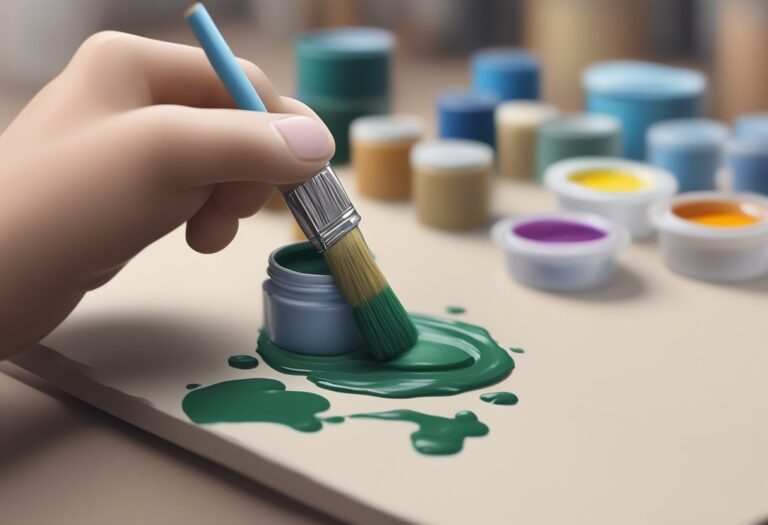
Miniature Wet Blending Tips for Flawless Finishes
Painting miniature figures has become a popular hobby, with enthusiasts spending countless hours meticulously crafting intricate details on these tiny works of art. But how can you take your miniatures to the next level and achieve flawlessly blended colors and gradients?
Introducing the technique of miniature wet blending. This innovative painting technique allows you to seamlessly blend colors together, creating smooth transitions and stunning gradients on your miniatures.
In this article, we will delve into the world of miniature wet blending and provide you with expert tips and techniques to help you master this art form. Whether you’re a beginner looking to improve your miniature painting skills or an experienced painter seeking new challenges, our comprehensive guide has got you covered.
We will explore all aspects of wet blending, from understanding the fundamentals to mastering advanced techniques. Discover the necessary tools and materials, learn how to prepare your miniatures, and find out how to select the perfect colors for your wet blending palette.
But that’s not all! We will guide you step-by-step through the wet blending process, providing clear instructions and helpful tips along the way. From loading your brush to applying paint and blending strokes, you’ll soon be creating seamless color transitions like a pro.
And for those who want to push their skills even further, we’ll reveal advanced wet blending techniques and troubleshoot common issues that may arise during the painting process.
Finally, we’ll show you how to finish and protect your wet blended masterpiece, ensuring it stands the test of time. Plus, we’ll provide insights on how to showcase and photograph your miniatures in the best possible light.
So, whether you’re a seasoned miniature painter or just starting out, join us on this journey as we unlock the secrets of miniature wet blending and elevate your painting skills to new heights. Get ready to create awe-inspiring miniatures that will leave others wondering how you achieved such flawless finishes!
Understanding Wet Blending in Miniature Painting
Wet blending is a fundamental technique used by miniature painters to achieve seamless color transitions and gradients on their figures. It involves blending wet layers of paint directly on the miniature’s surface, allowing for smooth, gradual changes in color and tone. This technique is widely appreciated for its ability to create lifelike textures and realistic shading, making it a popular choice among both novice and experienced painters.
By utilizing wet blending in your miniature painting, you can add depth and visual interest to your figures, elevating them to a whole new level of artistry. The technique offers a range of benefits, including:
- Smooth Color Transitions: Wet blending allows for seamless blending of colors, creating smooth transitions between different shades. This technique is particularly effective for painting gradients, such as blending from light to dark or combining contrasting colors.
- Eliminating Brush Strokes: When done correctly, wet blending can help minimize visible brushstrokes on the miniature’s surface. This results in a more polished and professional appearance, enhancing the overall quality of the piece.
- Creative Control: Wet blending provides artists with greater control over the color and tonal values of their miniatures. This technique enables you to manipulate the paint, adjusting its opacity and blending it as desired to achieve the desired effect.
Whether you’re aiming to paint realistic textures, achieve a natural-looking skin tone, or create vibrant gradients on your miniatures, wet blending is an essential technique to master. In the next sections of this guide, we will delve deeper into the tools, materials, and step-by-step techniques that will help you achieve flawless wet blends on your miniature figures.
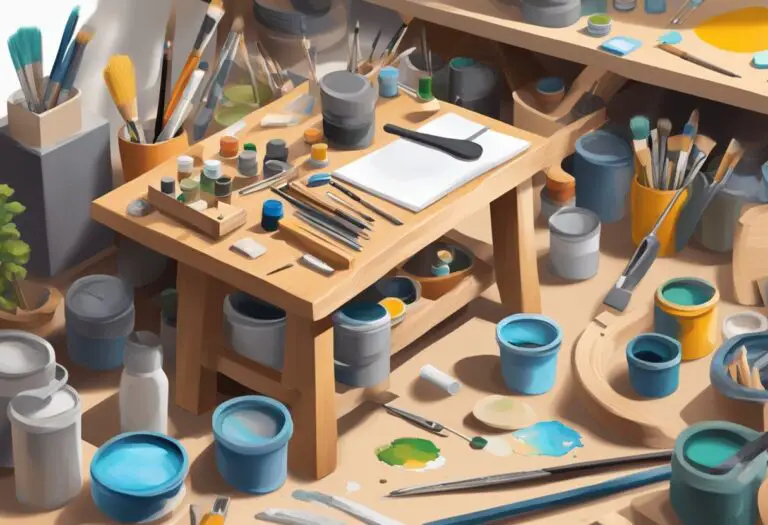
Necessary Tools and Materials for Wet Blending
When it comes to creating flawless finishes with wet blending techniques, having the right tools and materials is essential. Whether you’re a beginner or an experienced miniature painter, here are the must-haves for successful wet blending:
1. Brushes
To achieve smooth transitions and gradients, you’ll need a variety of brushes with different shapes and sizes. Here are a few types that are commonly used:
- Round brushes: Perfect for general blending and applying base coats.
- Detail brushes: Ideal for adding intricate details and precise blending.
- Flat brushes: Great for larger areas and broad strokes.
2. Paints
Choosing the right paints is crucial for achieving the desired results. Acrylic paints, specifically formulated for miniature painting, are the go-to choice. Look for paints that have a smooth consistency and can be thinned easily.
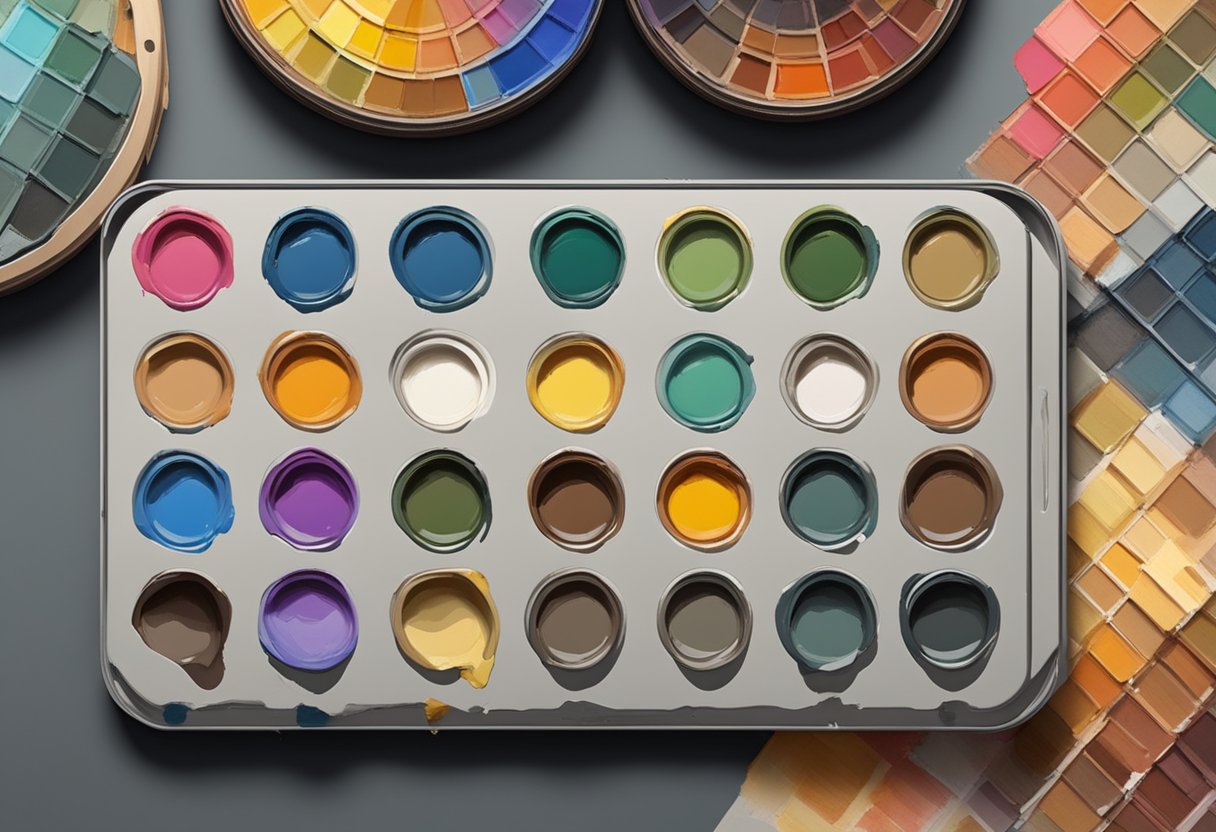
3. Palette
A palette is where you mix and blend your paints. It can be a simple ceramic plate, a wet palette, or a dedicated paint palette. The important thing is to have a clean surface to work with and enough space to create your desired color blends.
4. Thinners
Thinners are used to dilute your paints and help create smooth and seamless blends. Water is the most common thinner, but for more advanced techniques, you may want to consider using specialized thinners like flow improvers or mediums.
Recommended Budget-Friendly Options
If you’re just starting out or on a tight budget, there are affordable alternatives to consider:
| Tool/Material | Recommended Budget-Friendly Option |
|---|---|
| Brushes | Mont Marte Detail & Liner Brush Set |
| Paints | Reaper Miniatures Master Series Paint Set |
| Palette | Disposable Palette Pad |
| Thinners | Distilled Water |
Remember, while investing in high-quality tools and materials can enhance your painting experience, it’s equally important to practice and experiment with different techniques. Happy wet blending!
Preparing Your Miniature for Wet Blending
Before diving into the wet blending process, proper preparation of your miniature is essential to achieve optimal results. This section will guide you through the necessary steps, including priming, base coating, and sketching important details.
1. Priming
Prior to painting, it is crucial to prime your miniature. Priming creates a smooth surface that helps the paint adhere better and ensures a consistent finish. Use a spray primer or brush-on primer specifically formulated for miniatures. Apply the primer in thin and even coats, making sure to cover all surfaces.
2. Base Coating
After priming, apply a base coat to your miniature. This serves as the foundation for the wet blending process. Choose a color that will act as the base layer for your desired final blend. Using a brush or airbrush, apply the base coat evenly, covering the entire miniature. Let it dry completely before proceeding.
3. Sketching Important Details
Before starting the wet blending technique, sketch or outline the important details on your miniature. This step ensures that you have a clear understanding of the areas you want to focus on during the blending process. Use a fine-tip brush and a darker color to create these outlines, keeping the lines thin and precise.
| Preparation Steps | Benefits |
|---|---|
| Priming | Provides a smooth surface for paint adherence and consistent results |
| Base Coating | Establishes the foundation for the wet blending process |
| Sketching Important Details | Highlights areas of focus and ensures precision during blending |
By following these preparation steps, you will set the stage for successful wet blending on your miniature. Once your miniature is properly primed, base coated, and sketching the important details, you’ll be ready to embark on the wet blending journey.
Choosing Colors and Creating a Palette
When it comes to wet blending miniatures, selecting the right colors and creating a well-organized palette can make all the difference in achieving seamless transitions and stunning blends. In this section, we will explore the key principles of color theory and provide practical tips for choosing the perfect palette for your wet blending endeavors.
Understanding Color Theory
Color theory plays a vital role in miniature painting and wet blending. By understanding the relationships between colors, you can create harmonious blends that capture attention and evoke the desired mood. Here are a few important concepts to consider:
- Primary Colors: Red, blue, and yellow are the primary colors from which all other colors are derived. Understanding their interactions is crucial when blending.
- Secondary Colors: Mixing two primary colors in equal parts creates secondary colors such as purple, green, and orange.
- Tertiary Colors: Tertiary colors are formed by mixing primary and secondary colors. They offer a wider range of shades for more nuanced blends.
- Complementary Colors: Complementary colors are found opposite each other on the color wheel. When used together, they create high contrast and can add depth and dimension to your blends.
Creating Your Palette
To create a palette that facilitates smooth wet blending, consider the following guidelines:
- Choose a Range of Shades: Select colors that span a range of values from light to dark to ensure smooth transitions in your blends.
- Include Complementary Colors: Incorporating complementary shades in your palette will allow you to create striking contrasts and vibrant blends.
- Consider the Miniature’s Mood: The color scheme should align with the desired mood or theme of the miniature. Cooler tones for melancholic characters or warmer tones for lively scenes, for example.
- Test Colors Before Blending: Try out combinations on a separate surface to ensure they work well together before applying them to your miniature. It can save you time and prevent potential color clashes.
By carefully selecting your colors and organizing them in a thoughtful palette, you’ll have the foundation for successful wet blending miniatures. Experimentation and practice will further refine your skills, allowing you to achieve flawless transitions and breathtaking blends.
Wet Blending Techniques for Beginners
For those new to miniature painting, wet blending can seem like a daunting technique to master. However, with practice and the right guidance, anyone can achieve stunning results. In this section, we will walk you through step-by-step wet blending techniques that are specifically tailored for beginners.
1. Loading the Brush
Before beginning the wet blending process, it is important to properly load your brush. Start by dipping the tip of your brush into one color and apply a small amount of paint to your palette. Then, dip the brush into a second color, ensuring that the two colors slightly overlap on the brush bristles. This will allow for a smooth transition between the colors.
2. Applying Paint
Once your brush is loaded with the two colors, it’s time to apply the paint to your miniature. Start with a light touch and a gentle stroke, gradually building up the layers of paint. Avoid applying too much pressure, as this can cause the colors to mix too quickly and result in a muddy appearance. Take your time and work in small sections, focusing on blending the colors seamlessly.
3. Blending Strokes
The key to achieving gradual color transitions in wet blending is the use of blending strokes. These strokes involve gently moving the brush back and forth between the different color areas, allowing them to mix and merge. Experiment with different brush angles, pressures, and stroke lengths to find the technique that works best for you. Remember to keep your brush damp but not overly loaded with paint, as this will help create smoother blends.
4. Practice and Patience
Wet blending is a technique that requires practice and patience. Don’t get discouraged if your first attempts don’t turn out as expected. Keep experimenting, refining your brush control, and observing how the colors interact. Over time, you will develop a better understanding of the technique and gain confidence in achieving those flawless color transitions.
By following these step-by-step wet blending techniques for beginners, you’ll be able to bring your miniature figures to life with stunning blends and smooth gradients. Remember, practice makes perfect, so don’t be afraid to experiment and have fun with the process.
| Benefits of Wet Blending for Beginners: | Common Mistakes to Avoid: |
|---|---|
|
|
Advanced Wet Blending Techniques and Tips
For experienced painters looking to take their wet blending skills to the next level, there are several advanced techniques and tips that can elevate the quality of their miniature work to new heights.
Glazing
One advanced technique to explore is glazing, which involves applying translucent layers of paint over an already blended area to enhance color and create subtle shifts in value. By diluting the paint with a medium or thinning it down, painters can achieve smooth transitions and add depth to their miniatures.
Layering
Layering is another essential technique for advanced wet blending. It involves applying multiple thin layers of paint on top of each other to build up color and create intricate blends. By gradually increasing the opacity and intensity of the paint with each layer, painters can achieve seamless transitions and richly saturated colors.
Feathering
Feathering is a technique used to create soft transitions between different colors or tones. By using a damp brush and feather-like strokes, painters can blend two colors together, creating a smooth gradient that seamlessly transitions between the two. This technique requires control and precision but can yield stunning results.
Using Multiple Layers
For complex blends and intricate details, combining multiple layers of wet blending can produce breathtaking results. By blending small sections at a time and gradually building up the layers, painters can create intricate color blends, subtle textures, and lifelike effects on their miniatures.
These advanced wet blending techniques require practice, patience, and a keen eye for color and value. By honing these skills, experienced painters can push the boundaries of their miniature painting and achieve truly remarkable results.
Troubleshooting Wet Blending Issues
While wet blending can produce beautiful results, it’s not uncommon for painters to encounter certain challenges along the way. In this section, we will address some common wet blending issues and provide solutions to help you overcome them.
1. Paint Drying Too Quickly
One of the most frustrating issues that painters face during wet blending is when the paint dries too quickly, making it difficult to achieve smooth transitions. This can happen due to a variety of factors, such as low humidity or working in a warm environment. To prevent this, try these tips:
- Work in a cool, well-ventilated area to slow down the drying process.
- Use a wet palette or a paint retarder to keep the paint moist and workable for longer periods.
- Mist the palette or the miniature with water occasionally to maintain a humid environment.
2. Brush Strokes Showing
Another issue that painters often encounter is brush strokes showing up on their wet blended surfaces, disrupting the smoothness of the finish. Here are some tips to minimize visible brush strokes:
- Use a soft-bristled brush with a fine point for better control and smoother strokes.
- Apply light pressure and use long, sweeping strokes to avoid leaving distinct brush marks.
- Blend the colors in multiple layers, allowing each layer to dry slightly before adding the next, to further diminish any visible brush strokes.
3. Correcting Mistakes
Even experienced painters make mistakes during wet blending. It’s important to know how to correct these mistakes without ruining the entire piece. Here’s what you can do:
- If you’ve applied too much paint and need to lighten an area, gently dab a clean brush or a cloth to remove excess paint.
- If you need to fix a color transition, carefully layer additional paint on top to blend and correct the mistake.
- If the mistake is too severe, you can always start over by reverting to the base coat and repeating the wet blending process.
By following these troubleshooting tips, you’ll be better equipped to handle the challenges that arise during wet blending. Don’t get discouraged – practice, experiment, and learn from your mistakes to refine your miniature painting techniques.
Finishing and Sealing Your Wet Blended Miniature
Once you’ve perfected the wet blending technique on your miniature figure, it’s essential to finish and seal your work to protect it and enhance its overall look. Here are some key steps and tips to follow:
1. Varnishing
Apply a thin layer of varnish over your wet blended miniature to protect the paintwork from chipping, smudging, or fading over time. Choose a varnish specifically designed for miniatures that provides a matte or glossy finish, depending on your preference. Varnishing will also unify the sheen of different paint layers, giving your figure a cohesive look.
2. Highlighting
After varnishing, you can further enhance the details and highlights on your wet blended miniature. Use a small brush and a lighter shade of paint to carefully pick out raised areas or edges to create highlights and add dimension. This technique will bring out the finer details of your figure and make it visually striking.
3. Final Details
Take this opportunity to add any final details to your wet blended miniature. This could include painting small features, such as eyes or intricate patterns, or adding weathering effects like rust or dirt. Pay close attention to these final touches, as they can truly elevate your miniature to a professional level.
4. Basing
Consider basing your wet blended miniature to complete its overall presentation. Use modeling materials like sand, rocks, or grass to create a realistic or thematic base. Paint the base to complement the color scheme of your figure and enhance its visual appeal.
5. Sealing
Once you are satisfied with the final appearance of your wet blended miniature, it’s crucial to seal it for long-term preservation. Apply a final layer of varnish over the entire figure, including the base, to protect it from moisture, dust, and other potential damage. Make sure to follow the instructions on the varnish product for the best results.
By following these steps, you can ensure that your wet blended miniature is not only stunning but also well-protected. Taking the time to finish and seal your work will maintain the integrity and longevity of your miniature painting masterpiece.
Showcasing Your Wet Blended Masterpiece
Once you have mastered the art of wet blending and created a flawlessly painted miniature, it’s time to showcase your masterpiece. Displaying and photographing your work in the right way can truly bring your miniature to life and captivate viewers. Here are some tips to help you present your wet blended miniature in the best possible light:
1. Lighting:
Good lighting is essential for capturing the true colors and details of your miniature. Natural daylight is ideal, as it provides a balanced and neutral light source. Position your miniature near a window or set up a lightbox to create soft, diffused lighting. Avoid using harsh fluorescent or yellow lighting, as it can distort the colors and create unwanted shadows.
2. Backgrounds:
Choose a clean and appropriate background that complements your miniature and enhances its visual impact. A plain white or black background works well to bring focus to the subject, but you can also experiment with different textures and colors to add depth to your composition. Consider using props or terrain elements that relate to the theme or setting of your miniature to create a cohesive and visually appealing scene.
3. Composition:
Compose your photograph with careful consideration for the placement and angle of your miniature. Experiment with different angles, such as eye-level or a unique perspective, to create interest and draw the viewer’s attention. Use the rule of thirds to create a balanced composition and consider the focal point of your image. Frame your miniature in a visually pleasing way, ensuring that the entire figure is visible and the details are showcased.
4. Depth of Field:
Play with the depth of field to create a sense of depth and focus on specific areas of your miniature. Use a wide aperture (small f-number) to create a shallow depth of field, blurring the background and drawing attention to the main subject. Alternatively, use a smaller aperture (larger f-number) to create a larger depth of field and keep the entire miniature in focus.
5. Editing and Retouching:
After capturing your photograph, consider using photo editing software to enhance the final image. Adjust the brightness, contrast, and saturation to accurately represent the colors of your miniature. Crop the image if necessary to improve the composition or remove any distractions. Be mindful not to over-edit, as it can detract from the natural look of your work.
By following these tips and experimenting with different techniques, you can showcase your wet blended masterpiece in a visually stunning way. Remember, capturing the essence and beauty of your miniature requires patience, practice, and attention to detail.
Conclusion
In conclusion, mastering the art of wet blending is essential for achieving flawlessly painted miniatures. Throughout this article, we have explored various miniature wet blending tips and techniques to help you enhance your painting skills. By practicing these techniques and experimenting with different color combinations, you can create stunning gradients and smooth transitions on your miniatures. Remember, wet blending involves applying layers of wet paint and gently blending them together to achieve a seamless look. It allows for dynamic and realistic effects, bringing your miniatures to life. Whether you are a beginner or an experienced painter, wet blending offers endless possibilities to elevate your painting game. To recap, some key techniques covered in this tutorial includeloading the brush properly, applying paint with deliberate strokes, and blending the colors seamlessly. Advanced techniques such as glazing, layering, and feathering can also be employed to create complex blends and textures. Now it’s time to put your skills to the test. Grab your brushes, gather your miniatures, and start practicing these wet blending techniques. With dedication and patience, you’ll soon be able to create professional-level finishes on your miniatures. Keep in mind that practice makes perfect, so don’t be discouraged if your initial attempts don’t turn out as expected. The more you paint and experiment, the better you will become. So, go ahead and embark on your wet blending journey, and enjoy the rewarding experience of bringing your miniature creations to life!