Miniature Skin Tones Painting Tips for Hobbyists
Painting realistic skin tones on miniatures requires more than just artistic talent. It demands an understanding of color theory, careful layering, and precise highlighting. But fear not! In this article, we will guide you through a comprehensive tutorial filled with expert tips and techniques, enabling you to breathe life into your miniatures with natural-looking skin tones.
From preparing your miniatures for painting to adding convincing shadows, highlights, and details, our step-by-step guide will equip you with the knowledge and skills necessary to elevate your hobby painting to new heights. Whether you’re a collector, a tabletop gamer, or simply an enthusiast captivated by the intricate artistry of miniatures, this article is your key to unlocking the secrets of miniature skin tones.
So, grab your brushes and let’s embark on an exciting journey where anatomy meets artistry, where meticulously crafted hues bring character to life, and where miniature models become masterworks of imagination. Get ready to take your hobby painting skills to the next level as we delve into the mesmerizing world of miniature skin tones.
Understanding Skin Tones and Color Theory
Before diving into the painting process, it’s important to have a solid understanding of skin tones and color theory. By mastering these foundational concepts, you’ll be able to create realistic and lifelike skin tones on your miniatures.
Color mixing: To achieve accurate skin tones, it’s crucial to understand how to mix colors effectively. Skin tones are complex and often require a combination of different hues, such as reds, yellows, and blues. Experiment with mixing various ratios of these primary colors to create a diverse range of skin tones.
Shading and highlighting: Proper shading and highlighting techniques are essential for adding depth and dimension to your miniatures’ skin tones. Shadows and highlights help create the illusion of light and contours on the miniature’s features. Study light sources and practice adding gradients to enhance the three-dimensional effect of your paintwork.
Color temperature: Skin tones can vary in temperature, from warm to cool. Understanding color temperature is crucial for achieving realistic and convincing skin tones. Cooler skin tones tend to have more blue and purple undertones, while warmer skin tones lean towards red and yellow undertones. Experiment with different combinations to create a wide range of skin tones.
Finding References
When working on skin tones, it’s helpful to refer to real-life references. Look at photographs, portraits, or even study people’s skin tones in person. Observing the subtle color variations, shadows, and highlights will provide you with valuable insights that you can replicate in your miniature painting.
Undertones and Ethnicity
Remember that different ethnicities have unique skin tones and undertones. Research and understanding the specific characteristics of different ethnicities will allow you to paint minis with the utmost precision and authenticity. For instance, a tutorial on how to paint realistic Asian skin tones would focus on capturing the specific undertones and color variations commonly found in Asian individuals.
To further enhance your understanding of skin tones, experimenting with different painting techniques and studying the works of experienced miniature artists can greatly contribute to your growth and skill development. With a solid foundation in color theory and an eye for detail, you’ll be well-equipped to create stunning and realistic skin tones on your miniatures.
Preparing Your Miniatures for Painting
Properly preparing your miniatures before painting is crucial for achieving a smooth and even skin tone. By following a few essential steps, hobbyists can ensure that they have the best possible surface for their painting. Here are some tips to get you started:
Cleaning
Prior to painting, it is important to thoroughly clean your miniatures. Dust, dirt, and oils can interfere with the paint’s adhesion and result in an uneven finish. Use a mild soap and warm water to gently wash the miniatures, then rinse and dry them thoroughly. Additionally, it’s a good idea to wear gloves during this process to prevent oils from your hands from transferring onto the miniatures.
Priming
Priming is an essential step in miniature painting, as it provides a smooth and consistent base for the paint. Primers create a surface that the paint can adhere to effectively, improving the longevity and durability of the finished product. Choose a spray primer specifically designed for miniatures, such as Citadel or Army Painter, and apply it in thin, even coats. Allow each coat to dry before applying the next to prevent any buildup or pooling of the primer.
Assembling
If your miniatures come in multiple pieces, it’s important to assemble them before painting. This ensures that all areas of the miniature are accessible for painting and that there are no gaps or seams visible in the final result. Use a plastic glue or super glue to securely attach the pieces together, following the manufacturer’s instructions. Take your time during this step to ensure proper alignment and a seamless finish.
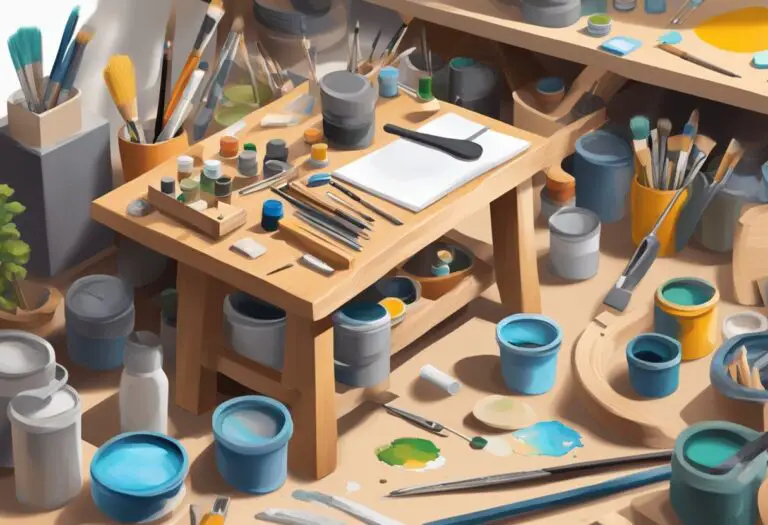
Recommended Miniature Painting Tools
| Tool | Description |
|---|---|
| Paintbrushes | A variety of high-quality paintbrushes in different sizes will allow for precise details and broader strokes. |
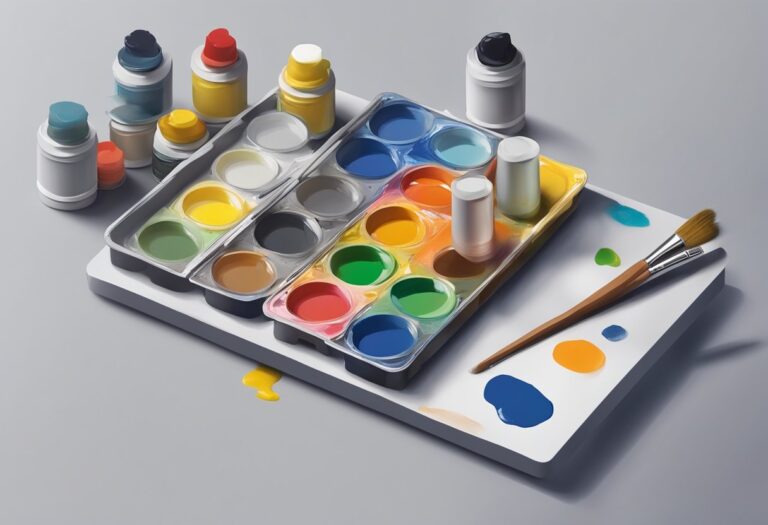
| Palette | A palette provides a mixing surface for blending colors and prevents them from drying out too quickly. |
| Paints | Acrylic paints specifically formulated for miniature painting are recommended for their vibrant colors and fast drying time. |
| Painting Handle | A painting handle or grip can make it easier to hold and maneuver the miniature while painting. |
| Water Container | A container of water is essential for rinsing brushes and thinning paints to achieve the desired consistency. |
| Masking Tape | Masking tape can be used to cover areas of the miniature that you don’t want to paint, such as the base or delicate details. |
By following these preparatory steps, hobbyists can ensure that their miniatures have a clean and smooth surface for painting. Taking the time to clean, prime, and assemble the miniatures sets the foundation for achieving the best possible results in the subsequent painting process.
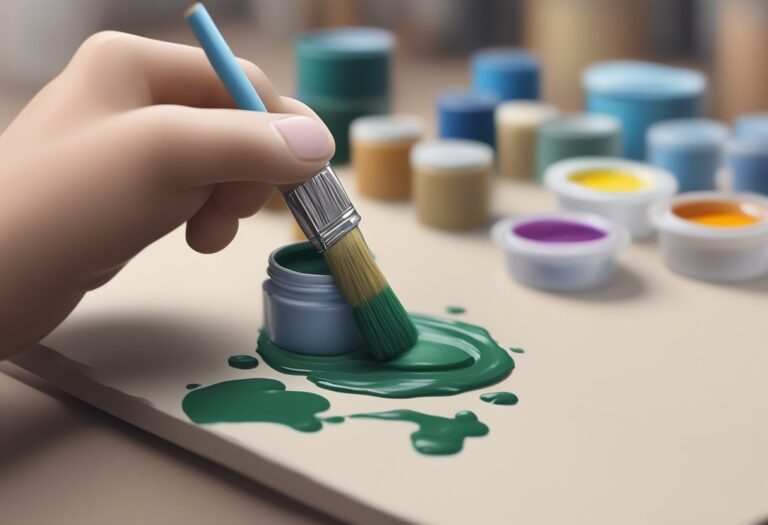
Basecoat Application Techniques
The basecoat is an essential step in achieving a realistic skin tone on your miniature. It serves as the foundation for all subsequent layers and details. In this section, we will explore different application techniques that will help you achieve a smooth and consistent basecoat, setting the stage for a beautiful skin tone.
1. Thin Layers
Applying thin layers of paint is crucial when creating a basecoat. This ensures that the underlying details of the miniature are not obscured and allows for easier layering and blending later on. Use a smaller brush and a diluted paint consistency to achieve a smooth and even application.
2. Wet-on-Wet
The wet-on-wet technique involves applying paint to a wet surface, allowing the colors to blend seamlessly. This technique can be used to achieve subtle variations in skin tones by layering different shades while the basecoat is still wet. Work quickly and use a larger brush for broader coverage.
3. Layering and Feathering
Layering and feathering are techniques that involve building up thin layers of paint gradually. Start with lighter shades and gradually work towards darker tones, blending and feathering the colors as you go. This technique helps create depth and texture in the skin, resulting in a more realistic appearance.
4. Airbrushing
If you have access to an airbrush, it can be a valuable tool for achieving a smooth and even basecoat. Airbrushing allows for greater control and precision, especially when working with larger surfaces. Dilute your paint appropriately and practice on a test surface before applying it to your miniature.
5. Drybrushing
Drybrushing is a technique where a small amount of paint is applied to a dry brush, and then most of it is removed, leaving only a faint residue. This technique can be used to add subtle highlights or texture to certain areas of the skin, such as raised edges or muscle definition.
By using these basecoat application techniques, you can establish a solid foundation for painting realistic skin tones on your miniatures. Remember to practice and experiment with different methods to find what works best for you. In the next section, we will explore layering and blending colors to add depth and dimension to your miniature’s skin.
Layering and Blending Colors
When it comes to painting realistic skin tones on miniatures, layering and blending colors is a crucial technique. By using techniques such as glazing, wet blending, and feathering, you can achieve smooth transitions and highlights that add depth and dimension to your miniature’s skin.
Glazing is a method where thin translucent layers of paint are applied over each other to create smooth color transitions. To glaze, start with a base layer of your chosen skin tone. Then, dilute your highlight or shadow color with water or a glazing medium and apply thin layers over the base, gradually building up the desired effect.
Wet blending involves blending wet paints together on the miniature itself to create seamless transitions. Begin by applying your base color to the miniature. Then, while the paint is still wet, introduce your highlight or shadow color and blend the two colors together using a brush or a blending tool. This technique requires some practice and control, but it can result in stunningly smooth gradients.
Feathering is a technique that creates soft transitions between colors. Start by applying your base color to the miniature. Next, using a dry brush or a feathering brush, lightly stroke the highlight or shadow color from the desired area into the base color, gradually blending the two together. Feathering is ideal for creating delicate gradients and subtle variations in skin tones.
Experiment with these techniques to find the one that works best for you and your desired effect. Remember to use thin layers of paint and allow each layer to dry before applying the next to avoid muddying the colors. With practice and patience, you’ll be able to achieve lifelike skin tones that bring your miniatures to life!
Adding Shadows and Highlights
Shadows and highlights play a crucial role in bringing your miniature’s skin tones to life. By strategically placing shadows and highlights, you can create depth, dimension, and a realistic effect. In this section, we will explore various techniques for adding shadows and highlights to enhance the overall appearance of your miniature’s skin.
Dry Brushing
One effective technique for adding shadows and highlights is dry brushing. This technique involves using a dry brush with a small amount of paint to apply light strokes on raised areas of the miniature’s skin, creating highlights. Similarly, by dry brushing a darker shade onto the recessed areas, you can achieve shadows and enhance the details. Remember to use a light touch and gradually build up the desired effect.
Stippling
Incorporating stippling into your painting process is another great way to add texture, shadows, and highlights to the miniature’s skin tones. Stippling involves using a stippling brush or a small, stiff-bristled brush to create tiny dots or specks of color on the miniature’s skin. By using a lighter shade for highlights and a darker shade for shadows, you can achieve a realistic three-dimensional effect. Experiment with different brush sizes and pressure to vary the intensity of the stippling.
Glazing
To create smooth transitions and subtle shadows, glazing is a valuable technique to master. Glazing involves applying a translucent layer of paint over an existing layer of color. By using a thin mixture of paint and glazing medium, you can add a sheer wash of color that modifies the underlying skin tone, creating a subtle shadow or a delicate highlight. This technique requires patience and layering, as multiple glazes may be necessary to achieve the desired effect.
Contrast in Highlights and Shadows
When adding shadows and highlights, it’s important to create a contrast between them to make the miniature’s skin tones stand out. The shadows should be darker and cooler in tone, while highlights should be lighter and warmer. This contrast enhances the depth and realism of the miniature’s skin, giving it a more lifelike appearance. Experiment with different shades and intensities to find the right balance of contrast for your specific miniature.
| Technique | Description |
|---|---|
| Dry Brushing | Using a dry brush with a small amount of paint to create highlights and shadows on raised and recessed areas. |
| Stippling | Applying tiny dots or specks of paint with a stippling brush or small, stiff-bristled brush to add texture and depth. |
| Glazing | Applying translucent layers of paint to modify the underlying skin tone and create smooth transitions. |
| Contrast | Creating a contrast between darker, cooler shadows and lighter, warmer highlights for a realistic effect. |
Adding Details and Textures
When it comes to painting miniatures, adding intricate details and textures to the skin can make a significant difference in the final result. Whether you’re working on a fantasy character or a historical figure, mastering the art of painting facial features, such as eyes, lips, and facial hair, is essential for creating lifelike mini models.
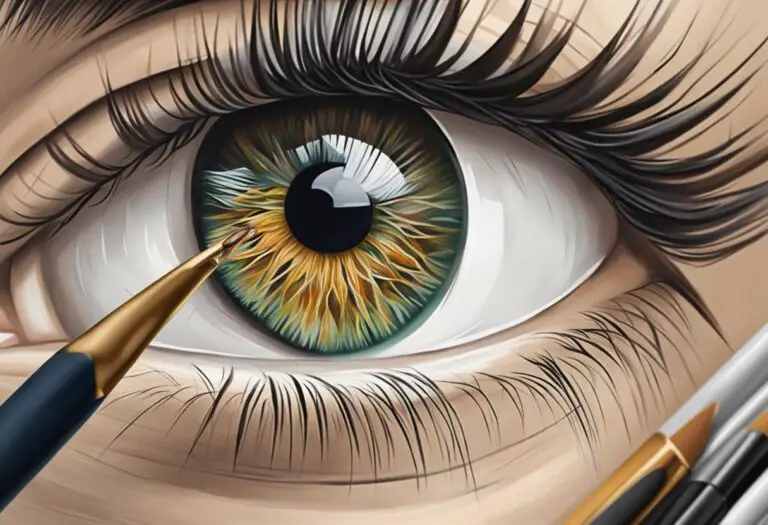
Painting Facial Features
When painting eyes, start by applying a base coat for the whites of the eyes. Use a small brush and precise strokes to paint the iris and pupil, paying close attention to the direction and shape. Tiny dots of white can be added to create highlights, while thin lines of a darker shade can accentuate the eyelashes.
For the lips, select a color that complements the overall skin tone. Apply a base coat and then use a lighter shade for highlighting the center of the lips and a darker shade for defining the outer edges. Blend the colors gently to create a natural gradient effect.
When it comes to painting facial hair, such as beards or mustaches, start by applying a base coat in a suitable color. Use a thin brush to add individual hair strands, working from the base upwards. Vary the shades and stroke directions to create depth and texture.
Creating Textures
In addition to facial features, creating textures like wrinkles or scars can enhance the realism of your mini models. To paint wrinkles, use a thin brush and a slightly darker shade of the base skin tone. Add thin lines along areas prone to creases, such as the forehead, around the eyes, and around the mouth.
For scars, start by applying a base coat in a flesh color. Then, using a fine brush and a darker shade, carefully paint irregular lines or shapes across the affected area. Add highlights with a lighter shade to create depth and texture, blending the colors as necessary.
Keep in mind that practicing these techniques is key to mastering the art of adding details and textures to your miniatures. Take your time, experiment with different brush sizes and techniques, and most importantly, have fun!
Finishing Touches and Sealing
Once you have completed the intricate process of painting realistic skin tones on your miniatures, it’s important to apply the finishing touches and protect your hard work. This section will provide you with valuable tips and techniques for varnishing and sealing your miniatures to preserve the lifelike skin tones you have achieved, ensuring a long-lasting finish that will stand the test of time.
Why Varnish and Seal your Miniatures?
Varnishing and sealing your miniatures serves several important purposes:
- Protects the paint job from wear and tear, preventing chipping and rubbing off
- Enhances the colors and overall appearance
- Reduces the risk of dust or other particles settling on the painted surface
- Makes the surface easier to clean and maintain
By taking the time to varnish and seal your miniatures, you can ensure that your hard work and attention to detail will be preserved for years to come.
Tips for Varnishing and Sealing
To achieve the best results when varnishing and sealing your miniatures, follow these tips:
- Choose the right varnish: Select a varnish specifically designed for miniature painting projects. Matt varnishes are ideal for maintaining a natural appearance, while gloss varnishes can enhance the vibrancy of the colors.
- Prepare the surface: Ensure that the painted surface is clean, free of dust, and completely dry before applying the varnish.
- Apply thin coats: Use a brush or airbrush to apply thin, even coats of varnish. This will prevent pooling or streaking and help maintain the fine details of your painting.
- Allow for drying time: Let each coat of varnish dry completely before applying the next layer. This will prevent smudging or damaging the previous layers.
- Consider multiple layers: Depending on the level of protection you desire, you may choose to apply multiple layers of varnish. Each additional layer will further improve the durability and longevity of your miniatures.
- Choose a suitable varnish finish: If you prefer a matte finish, opt for a matt varnish. For a shiny finish, a gloss varnish is the way to go. There are also satin varnishes available that offer a compromise between the two.
- Test your varnish: Before applying the varnish to your miniature, it’s always a good idea to test it on a spare or less important piece to ensure compatibility and the desired finish.
Popular Varnish Brands for Miniatures
| Brand | Type | Finish |
|---|---|---|
| Testors Dullcote | Aerosol Spray | Matte |
| Vallejo Acrylic Varnish | Brush-on | Matte, Satin, Gloss |
| Army Painter Anti-Shine Matte Varnish | Aerosol Spray | Matte |
| Citadel Purity Seal | Aerosol Spray | Satin |
| Winsor & Newton Professional Matt Varnish | Brush-on | Matte |
Remember to read the instructions provided by the varnish manufacturer for specific usage guidelines and drying times.
By following these tips and choosing the right varnish for your miniatures, you can ensure that your painstakingly painted skin tones will be protected and preserved, allowing you to display your miniatures with pride.
Conclusion
This article has provided a comprehensive guide to painting realistic skin tones on miniatures. By following the tips and techniques outlined in this article, hobbyists can elevate their painting skills and achieve lifelike results.
Understanding skin tones and color theory is essential for creating lifelike miniatures. Preparing the miniatures properly, applying basecoats, and utilizing layering and blending techniques contribute to achieving realistic skin tones.
Adding shadows, highlights, and fine details brings depth and texture to the miniatures’ skin. Applying finishing touches and sealing the work ensures longevity.
Now armed with this newfound knowledge, it’s time for hobbyists to put it into practice and bring their miniatures to life. With dedication and practice, mini models can be transformed into miniature works of art.