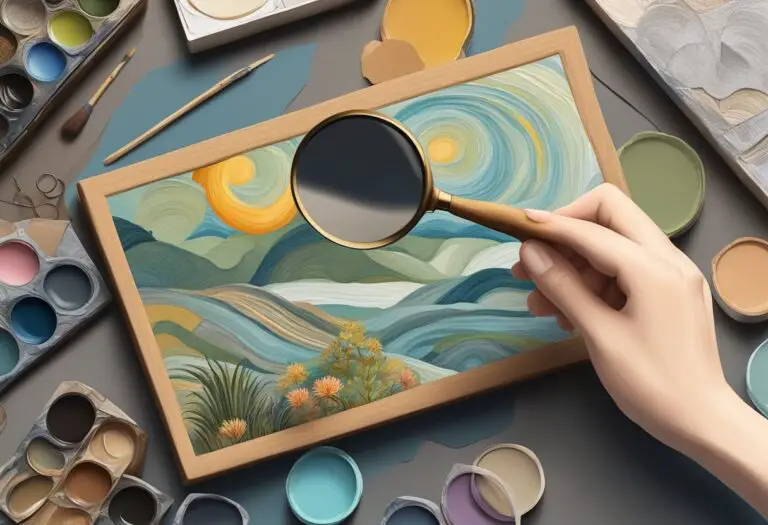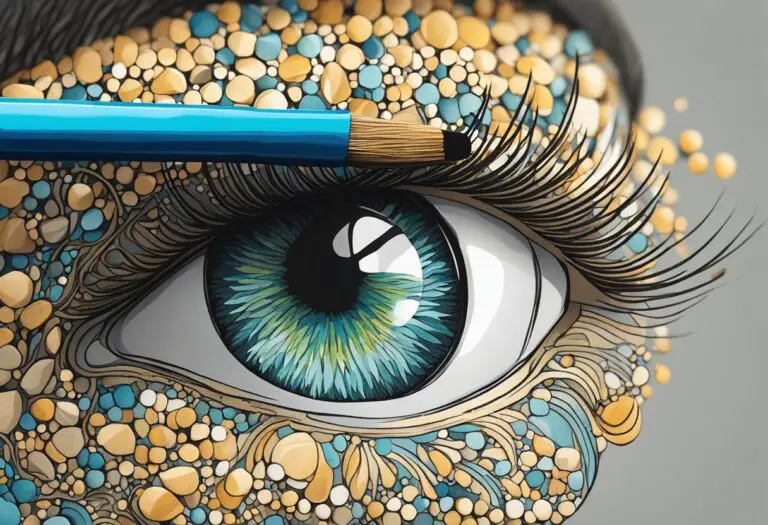
Mastering Layering Method in Miniature Painting
Miniature painting is an art form that requires skill, precision, and a deep understanding of various techniques. One such technique that plays a crucial role in creating realistic and vibrant miniature paintings is the layering method. By mastering this method, artists can achieve depth, texture, and intricate details that elevate their artwork to new heights.
In this article, we will delve into the layering method in miniature painting and explore its essential techniques. Whether you’re a beginner or an experienced artist looking to enhance your skills, this guide will provide you with valuable insights and practical tips to level up your miniature painting game.
First, let’s understand the significance of layering in art. Layering involves the application of multiple translucent layers of paint to create depth and richness in a painting. It allows artists to build up colors, shadows, highlights, and textures gradually, resulting in a visually stunning composition.
The miniature painting process itself consists of several stages, each of which relies heavily on layering. From preparing the surface and establishing the base colors to adding intricate details and final touches, layering is an integral part of every step. Its versatility enables artists to create smooth gradients, vibrant hues, and realistic textures, bringing the miniature to life.
While layering is a fundamental technique in miniature painting, it requires attention to detail and thoughtful color selection. In the following sections, we will explore the layering technique in detail, provide step-by-step tutorials, and offer tips for choosing the right colors to achieve desired effects.
In addition, we will address common layering issues that artists may encounter and provide troubleshooting techniques to overcome them. By understanding these challenges and their solutions, you can further refine your layering skills and improve the overall quality of your miniature paintings.
Finally, we will focus on how layering enhances the realism of miniature paintings. By using the layering method effectively, you can create lifelike textures, subtle shadows, and intricate details that captivate the viewer’s eye. This section will showcase examples of artists who have mastered the layering technique to achieve stunningly realistic results.
In conclusion, mastering the layering method in miniature painting is a valuable skill that can take your artwork to new levels of depth, realism, and visual appeal. By understanding the techniques involved, practicing with purpose, and taking inspiration from accomplished artists, you can unlock the full potential of this technique and create miniature paintings that truly stand out.
Understanding Layering in Art
In the world of art, layering is a technique that holds immense importance when it comes to achieving depth and realism in miniature paintings. Layering involves applying multiple translucent layers of paint on top of each other to create a sense of texture, dimension, and visual interest.
Layering in art allows artists to build up and manipulate colors, shadows, and highlights, resulting in a three-dimensional effect. By carefully layering different hues and shades, artists can bring their subjects to life, infusing them with a sense of depth and realism.
Layering can be achieved using various mediums such as acrylics, oils, or watercolors, and the technique can be used in a wide range of art styles, from traditional realism to contemporary abstraction. Regardless of the style, layering allows artists to create subtle variations in color and value, capturing the intricacies of light and shadow.
Layering in art is not limited to just paint. It can extend to other artistic mediums as well, including photography, collage, and mixed media. Artists can use layering techniques to combine different materials, textures, and images, adding complexity and visual interest to their work.
“Layering in art is a transformative technique that elevates a composition from flatness to depth. It adds richness and complexity, making the artwork visually captivating and engaging.”
The beauty of layering is that it allows artists to exercise control over their work, gradually building up the desired effect layer by layer. Artists can strategically layer different tones, hues, and values to create a sense of depth and richness in their artwork. Each layer interacts with the layers beneath it, resulting in a harmonious and nuanced final piece.
Whether it’s adding highlights to a portrait, creating texture in a landscape, or capturing the luminescence of a still life, layering in art opens up endless possibilities for artistic expression and experimentation.
The Miniature Painting Process
Mastering the art of miniature painting requires a meticulous and precise approach. In this section, we will guide you through the step-by-step process of creating stunning miniature paintings, highlighting the crucial role that layering plays in each stage.
1. Priming and Preparing the Miniature
Before diving into the painting process, it is essential to prime and prepare the miniature. This involves cleaning any mold lines, filling gaps, and applying a primer to ensure proper paint adhesion. Here, attention to detail is key, as even the smallest imperfections can affect the final result.
2. Base Coating
Once the miniature is primed, it’s time to apply the base coat. This initial layer of paint sets the foundation for the colors that will be added later. Use thin and smooth brushstrokes to achieve an even and consistent coverage. Remember, patience and precision are crucial here.
3. Layering
Now comes the heart of the miniature painting process – layering. Layering involves building up multiple transparent or semi-transparent layers of paint to create depth and richness in the final artwork. It’s during this stage that the miniature truly starts to come to life.
Begin by applying thin layers of paint, gradually building up the desired colors and shades. Each layer should be translucent enough to allow the previous layers to show through, creating a sense of depth. Take your time, allowing each layer to dry completely before moving on to the next.
4. Glazing and Washes
To further enhance the depth and realism of your miniature, consider incorporating glazes and washes. Glazes are thin, transparent layers of paint that can be used to alter the hue or add subtle color variations. Washes, on the other hand, are highly thinned paint mixtures that flow into the recesses, emphasizing details and creating shadows.
5. Highlighting and Detailing
Once the base layers are complete, it’s time to add highlights and refine the finer details. Highlighting involves selectively adding lighter tones to specific areas, creating contrast and emphasizing the miniature’s features. Pay attention to light sources and shadows when applying highlights to achieve a realistic effect.
6. Finishing Touches
To bring your miniature painting to its full potential, don’t forget the finishing touches. This may include adding texture, applying varnish for protection, or even adding scenic elements like foliage or props. These final touches can elevate your artwork and make it truly stand out.
| Stage | Description |
|---|---|
| Priming and Preparing | Clean, fill gaps, and apply primer to the miniature. |
| Base Coating | Apply the base coat to establish the foundation. |
| Layering | Build up transparent layers of paint to create depth. |
| Glazing and Washes | Add glazes and washes for further depth and realism. |
| Highlighting and Detailing | Apply highlights to accentuate features and refine details. |
| Finishing Touches | Add final touches and elements to enhance the artwork. |
Essential Tips for Painting Miniatures
When it comes to painting miniatures, attention to detail is key. These small-scale models require precision and skill to bring them to life. In this section, we will share valuable tips and techniques that will help you master the art of miniature painting and achieve stunning results.
1. Start with a Clean and Smooth Surface
Before you begin painting your miniature, make sure to clean it thoroughly to remove any dirt or dust particles. This will ensure that the paint adheres smoothly to the surface. Use a soft brush or a can of compressed air to remove any debris. Additionally, consider priming your miniature with a suitable primer to provide a smoother base for the paint.
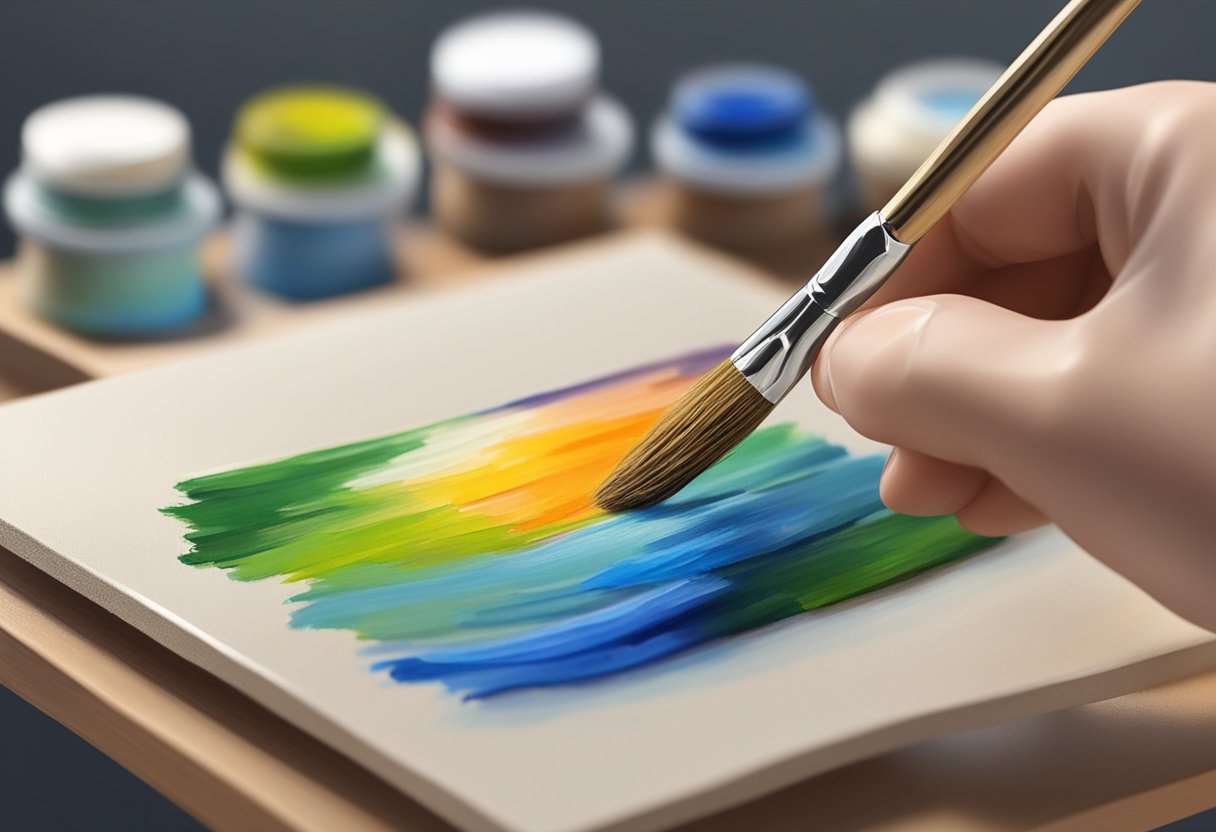
2. Thin Your Paints
When working on miniatures, it’s important to thin your paints to achieve smoother and more even layers. This not only helps to avoid obscuring details but also prevents the buildup of thick paint layers that can hide the intricate features of your miniature. Dilute your paints with a suitable medium or water until you reach the desired consistency.
3. Use Layering to Create Depth
Layering is a technique that can bring depth and dimension to your miniature paintings. Start with lighter shades and gradually build up layers of darker colors to create shadows and highlights. This technique adds depth and realism to your miniatures, making them more visually appealing.
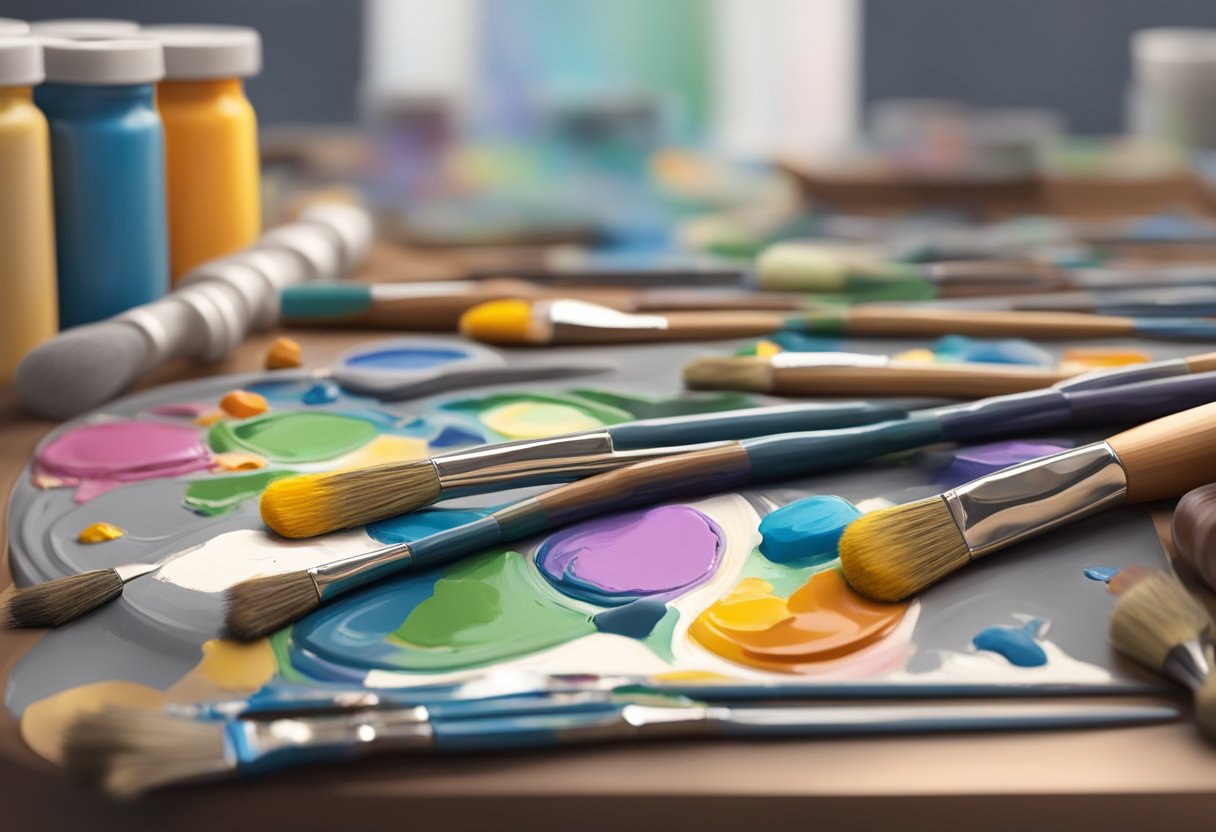
4. Choose the Right Brushes
Investing in high-quality brushes can make a significant difference in the outcome of your miniature paintings. Look for brushes with fine tips and a good spring for better control over your strokes. Different brush sizes and shapes can also help you tackle intricate details and larger areas with ease.
5. Pay Attention to Lighting and Shadows
Understanding how light interacts with your miniature is crucial for achieving a realistic look. Study the positioning of light sources and create shadows accordingly. By carefully considering the direction of light, you can bring your miniature to life and make it appear more three-dimensional.
6. Practice Patience and Take Breaks
Painting miniatures requires patience and precision. Take breaks between painting sessions to avoid fatigue and maintain your focus. Rushing can lead to mistakes and compromise the overall quality of your work. Remember, practice makes perfect, so take your time and enjoy the process.
By following these essential tips and techniques, you can enhance your miniature painting skills and create stunning works of art. Embrace the layering method and let your creativity shine through each brushstroke.
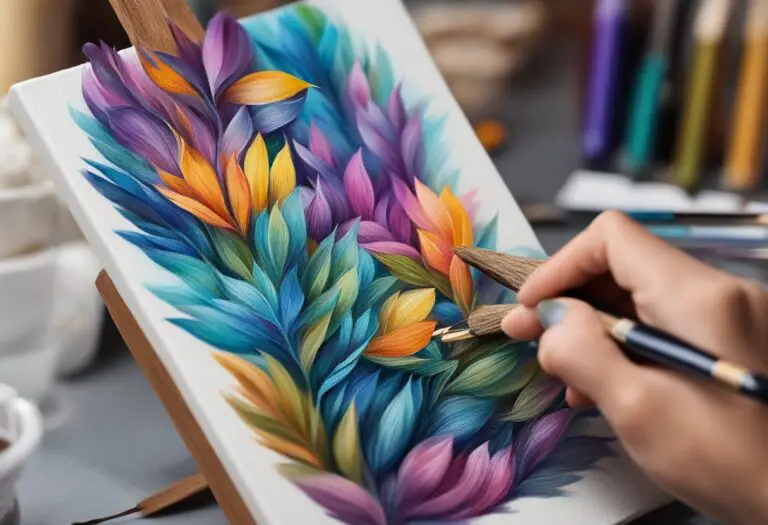
Exploring the Layering Technique
In the world of miniature painting, the layering technique is a fundamental method that artists use to create depth, dimension, and realism in their artwork. By strategically layering different colors and tones, artists can achieve subtle shifts in hue, create highlights and shadows, and bring their miniatures to life.
While the layering technique may seem straightforward, it involves various types of layers that contribute to the overall composition. Let’s explore these different layers and understand their role in the painting process.
Base Layer
The base layer is the foundation of any miniature painting. It provides the initial color and serves as a starting point for subsequent layers. Typically, artists apply a base layer with a smooth and even coverage to ensure a solid background.
Mid-tone Layers
Mid-tone layers add depth and dimension to the miniature. Artists use these layers to build upon the base color and create gradual transitions between colors. By layering multiple mid-tones on top of each other, artists can achieve a smooth transition from light to dark or from one color to another.
Highlight and Shadow Layers
Highlight and shadow layers are crucial for adding dimension and bringing out details in the miniature. Highlights are applied to the areas where light hits the miniature, while shadows create depth and define the contours. By carefully layering these effects, artists can create realistic lighting and make the miniature appear three-dimensional.
Glazing Layers
Glazing layers are translucent layers of paint that artists use to adjust the overall color and tone of the miniature. These layers are applied thinly to allow the underlying layers to show through, creating subtle changes in color and enhancing the overall cohesiveness of the artwork.
“The layering technique in miniature painting is like building a complex puzzle, where each layer contributes to the final masterpiece. It requires patience, skill, and a keen eye for detail.” – renowned miniature artist
By understanding and mastering the layering technique, artists can elevate their miniature paintings to new levels of realism and artistic expression. The layering method allows for precise control over colors, textures, and lighting, resulting in visually captivating artworks that truly stand out.
Now that we have explored the layering technique, let’s delve into a step-by-step tutorial in the next section, where we will guide you through the process of layering in miniature painting with clear instructions and visual examples.
| Types of Layers | Description |
|---|---|
| Base Layer | The foundation of the painting, providing the initial color and background. |
| Mid-tone Layers | Layers that build upon the base color, creating gradual transitions and depth. |
| Highlight and Shadow Layers | Layers used to add dimension, highlights, and shadows. |
| Glazing Layers | Translucent layers that adjust the overall color and tone, creating cohesion. |
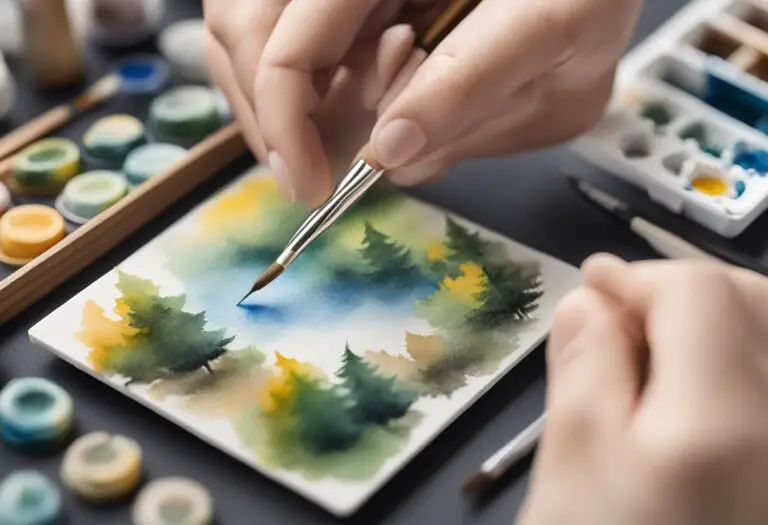
Step-by-Step Layering Tutorial
In this step-by-step tutorial, you will learn the art of layering in miniature painting. Layering is a fundamental technique that adds depth, dimension, and realism to your artwork. By building up thin layers of paint, you can achieve smooth transitions, vibrant colors, and intricate details.
To begin, ensure you have the necessary supplies within reach:
- A set of high-quality brushes in various sizes
- An assortment of acrylic or oil paints in your desired colors
- A palette for mixing colors
- Water or thinner for diluting the paint
- A primed miniature to paint on
Once you have gathered your materials, follow these steps to master the layering technique:
Step 1: Prepare Your Palette
Start by squeezing a small amount of each color you plan to use onto your palette. Keep in mind that you can always add more paint as you go, so it’s better to start with smaller amounts to avoid wasting excessive amounts of paint.
Step 2: Apply the Base Layer
Begin by applying a thin, even layer of your base color to the miniature using a large brush. This layer serves as the foundation for subsequent layers and sets the overall tone of your painting.
Step 3: Build Up the Layers
Gradually add more layers of paint, allowing each layer to dry before applying the next. Use smaller brushes and lighter hues to add highlights and brighter areas, while darker shades and larger brushes create shadows and depth.
Pro tip: When layering, remember to always work from dark to light. This ensures a more realistic outcome, as light tends to reflect off darker colors.
Step 4: Blending and Feathering
To achieve smooth transitions between colors, gently blend the edges of each layer using a dry brush or a soft, clean blending brush. This technique, known as feathering, creates a seamless and realistic look.
Step 5: Add Details and Highlights
Now it’s time to add finer details and highlights to bring your miniature to life. Use a thin brush to carefully paint intricate patterns, textures, and small features. Apply lighter shades of paint to create highlights and enhance the three-dimensionality of your artwork.
Repeat these steps until you are satisfied with the level of detail and realism in your miniature painting. Remember, layering is a skill that requires practice and patience. With time, you will refine your technique and discover your unique artistic style.
Pro tip: Don’t be afraid to experiment with different colors, layering techniques, and textures. This will help you develop your personal artistic expression and create truly captivating miniature paintings.
Choosing the Right Colors for Layering
When it comes to the layering method in miniature painting, selecting the appropriate colors is of utmost importance. The right colors can make all the difference, enhancing realism and adding vibrancy to your artwork. To achieve stunning results, consider the following tips and guidance on choosing colors for layering in miniature painting.
Understanding Color Theory
Before diving into color selection, it’s essential to have a basic understanding of color theory. Familiarize yourself with the color wheel, which consists of primary, secondary, and tertiary colors. Primary colors, such as red, blue, and yellow, are the building blocks for all other colors. Secondary colors, like orange, violet, and green, are created by mixing primary colors. Tertiary colors are a combination of primary and secondary colors.
By understanding how colors relate to one another, you can create harmonious and visually appealing compositions in your miniature paintings.
Consider the Mood and Atmosphere
When choosing colors for layering, consider the mood and atmosphere you want to convey in your artwork. Warm colors, such as reds, oranges, and yellows, evoke energy and excitement. Cool colors, like blues, greens, and purples, create a sense of calmness and serenity. By strategically incorporating these colors into your layers, you can evoke specific emotions and set the tone of your artwork.
Utilize Color Contrast
Color contrast plays a significant role in creating depth and visual interest in your miniature paintings. Experiment with complementary colors, which are located opposite each other on the color wheel. For example, pairing a warm color with its complementary cool color can create a striking contrast and make elements in your artwork pop. Additionally, try using analogous colors, which are neighboring colors on the color wheel, to create smooth transitions and harmonious blends in your layers.
Experiment and Mix Colors
Don’t be afraid to experiment and mix colors to achieve the desired tones and shades for your layers. Creating unique colors by mixing different pigments can add depth and complexity to your artwork. Remember to document your color mixtures to ensure consistency throughout your painting process.
When layering colors, start with lighter shades and gradually build up to darker tones. This approach allows for better control and smoother transitions between layers.
Observe and Learn from Master Artists
To further enhance your color selection skills, study the works of master artists who excel in miniature painting. Analyze their use of color, layering techniques, and overall composition. Take note of how they create harmony, contrast, and visual impact with their color choices.
Learning from the best can provide valuable insight and inspiration for refining your own color selection process.
By choosing the right colors for layering in miniature painting, you can elevate the realism and visual appeal of your artwork. Experiment, learn from others, and trust your artistic intuition to create breathtaking miniature paintings.
Adding Depth and Texture with Layering
In the world of miniature painting, layering is a fundamental technique that can bring your creations to life. By skillfully applying multiple layers of paint, artists can achieve a remarkable sense of depth and texture in their miniature artwork. This section will explore how the layering method in miniature painting can be used to add depth and texture, enhancing the visual appeal of your pieces.
Layering involves building up thin, translucent layers of paint on the miniature surface. Each layer adds a new dimension to the artwork, creating depth and complexity. By carefully blending colors, applying highlights and shadows, and selectively revealing or obscuring different layers, artists can achieve a three-dimensional effect that captivates the viewer.
One of the advantages of the layering method is its versatility. Artists have the freedom to experiment with different colors, tones, and textures, allowing for endless creative possibilities. With each layer, the artist can add subtle nuances and details, gradually building up the realism and visual interest of the artwork.
To effectively add depth and texture with layering, it is essential to consider the principles of light and shadow. By strategically layering darker colors in areas where shadows would naturally fall and lighter colors in areas where light would hit, artists can create the illusion of depth and dimension on the miniature canvas.
Texture is another element that can be enhanced through layering. By varying the thickness and consistency of the paint, artists can simulate textures like rough stone, smooth metal, or soft fabric. The layering technique allows the artist to achieve a tactile quality in their artwork, making the miniature visually and texturally engaging.
As you master the layering method in miniature painting, remember to experiment, practice, and observe. Each layer contributes to the overall effect, so develop your understanding of color theory and explore different brush techniques to create captivating textures. With dedication and creativity, the layering method can elevate your miniature paintings to new heights of realism and artistic expression.
Troubleshooting Common Layering Issues
In the process of using the layering method in miniature painting, artists may encounter common issues that can affect the final result of their artwork. Fortunately, there are solutions and techniques that can help overcome these challenges and ensure a successful outcome.
Inconsistent Color Coverage
One common issue when layering is achieving inconsistent color coverage. This may result in visible streaks or patches on the miniature painting. To address this problem, it is important to ensure proper paint consistency and application.
Ensure that the paint is well-mixed and evenly diluted before layering. This will help create a smooth and consistent layer of color. Apply the paint in thin layers, allowing each layer to dry before adding the next. This will prevent excess buildup of paint, which can lead to uneven coverage.
Blending Difficulties
Blending colors seamlessly is another challenge that artists may face when layering. Poor color blending can result in harsh transitions between layers, compromising the overall realism of the painting.
To overcome blending difficulties, it is essential to practice and master the technique of wet-on-wet blending. This involves applying wet layers of paint on top of each other while the previous layer is still wet. With controlled brushwork and blending techniques, artists can achieve smooth gradients and seamless transitions between colors.
Unwanted Texture or Visible Brushstrokes
Layering can sometimes lead to unwanted texture or visible brushstrokes on the surface of the miniature painting. This can be particularly problematic when aiming for a smooth and realistic finish.
To minimize unwanted texture or brushstrokes, artists can employ various techniques. One approach is to use a soft-bristle brush for layering, which helps create smooth and even brushstrokes. Additionally, applying thin layers of paint and using gentle brush movements can help reduce the visibility of brushstrokes and enhance the overall texture of the artwork.
Uneven Drying Time
Different layers of paint may dry at different rates, causing potential issues during the layering process. Uneven drying time can disrupt the flow of the painting and create complications when adding subsequent layers.
To address this problem, artists can use a drying medium or retarder with their paints. These additives help slow down the drying time, allowing for more control and flexibility during the layering process. It is important to follow the manufacturer’s instructions when using drying mediums, as the proper ratio and application method may vary.
By understanding and addressing these common layering issues, artists can overcome challenges and achieve exceptional results in their miniature paintings. Practicing the layering technique with patience and experimentation will ultimately lead to improved skills and mastery of this versatile painting method.
Enhancing Realism through Layering
When it comes to miniature painting, the layering method is a crucial technique for achieving stunning realism in your artwork. By building layers of paint, artists can create depth, texture, and lifelike effects that bring their miniatures to life.
Layering is an essential part of the miniature painting process, allowing for the gradual buildup of colors and details. By applying thin layers of paint on top of each other, artists can achieve smooth transitions, subtle shading, and realistic highlights.
This technique is particularly effective when it comes to capturing the intricate details found in miniatures. Whether it’s the folds of a delicate gown or the weathered texture of a stone wall, layering enables artists to add depth and dimension to their subjects.
One of the key advantages of the layering method is its versatility. Artists can use it with a variety of painting mediums, including acrylics, oils, and watercolors. Each medium offers its own unique properties and effects, allowing artists to experiment and find the best techniques that suit their artistic vision.
Furthermore, layering allows artists to achieve a wide range of effects, from soft and subtle to bold and dramatic. By varying the opacity and transparency of the paint layers, artists can create different levels of translucency, creating depth and visual interest.
When implementing the layering method, it’s important to keep in mind the principles of color theory. Understanding how colors interact with each other can help artists create harmonious blends and vibrant contrasts. By strategically layering complementary or contrasting colors, artists can enhance the visual impact of their artwork.
Realism in miniature painting is not only about accurately representing the subject matter but also capturing its essence and evoking emotions. The layering method allows artists to infuse their artwork with a sense of lifelike realism, drawing viewers into the miniature world they have created.
In conclusion, the layering method is an indispensable technique for enhancing realism in miniature painting. Through careful layering of colors and details, artists can bring their miniatures to life, capturing the intricacies of form, texture, and light. Whether you’re a beginner or an experienced painter, mastering the layering method will elevate your miniature painting skills to new heights.
Conclusion
Throughout this article, we have explored the layering method in miniature painting and its significance in achieving depth, realism, and vibrant results. By using layering techniques, artists can enhance their paintings and create captivating visual compositions.
We have discussed the step-by-step process of miniature painting, emphasizing the crucial role of layering at each stage. From choosing the right colors to troubleshooting common issues, we have provided valuable tips and techniques to help artists navigate and excel in their miniature painting endeavors.
Layering is not only a technique but also a creative tool that adds depth, texture, and realism to artworks. By layering different colors and applying translucent layers, artists can create stunning effects and bring their miniatures to life. The layering method allows for nuanced shading, highlighting, and blending, resulting in intricate and highly detailed miniature paintings.
As you embark on your own miniature painting journey, we encourage you to embrace the layering method. Experiment with different types of layers, explore color combinations, and practice blending techniques. Through dedication and practice, you will develop your own unique style and master the art of layering in miniature painting.