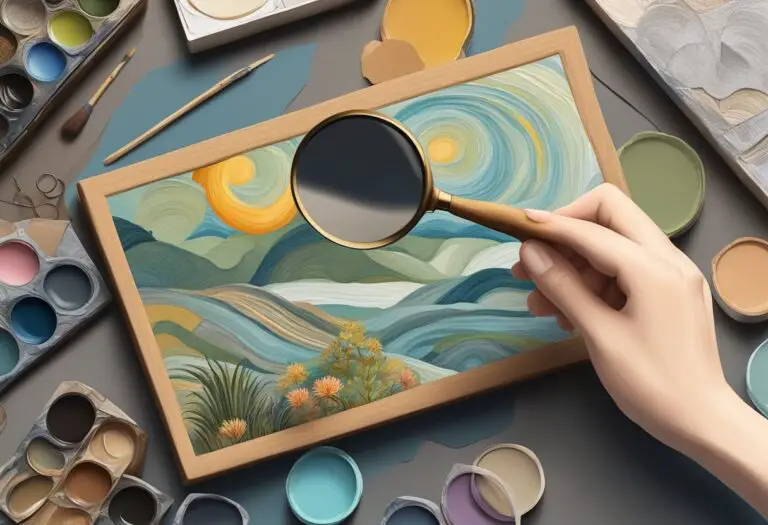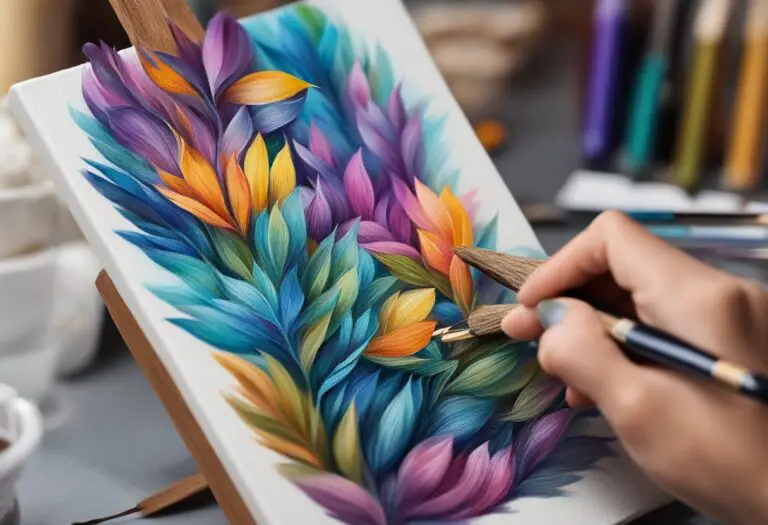
Master Glazing Method in Miniature Painting
Have you ever wondered how artists achieve such depth and luminosity in their miniature paintings? Is it simply a matter of skill and talent, or is there a secret technique behind it? In the world of miniature painting, one method stands out for its ability to elevate artworks to new heights— the glazing method.
Understanding the Glazing Technique
In the world of miniature painting, the glazing technique is a powerful tool that can take your artwork to new heights. Understanding this technique and its unique characteristics is essential for artists looking to achieve depth and luminosity in their creations.
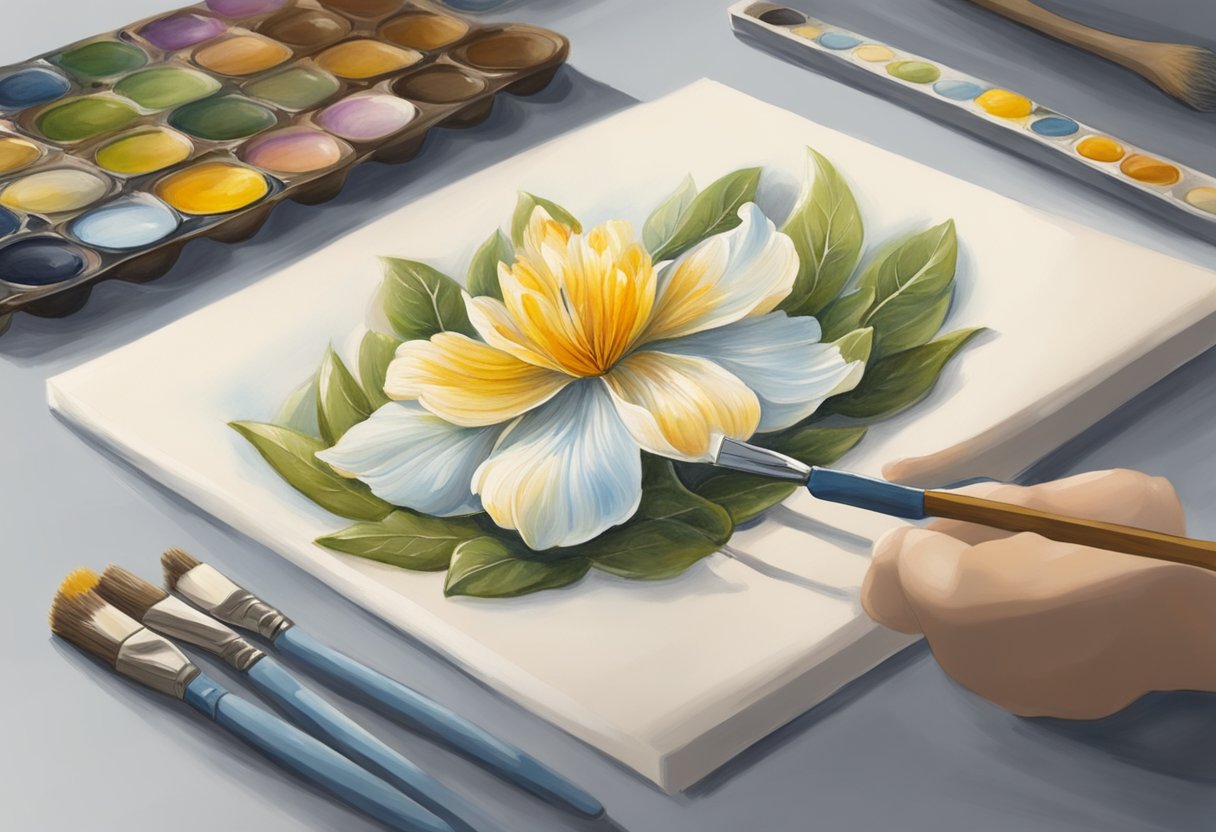
So, what exactly is the glazing technique? Glazing involves applying thin, transparent layers of paint, known as glazes, over previously painted areas. Unlike traditional painting methods where colors are mixed on the palette or canvas, glazes allow artists to build up colors gradually, creating rich and vibrant tones.
How does glazing differ from other painting methods? While traditional painting techniques often focus on opaque colors applied in thicker layers, glazing allows for a more refined approach. By using translucent glazes, artists can achieve subtle variations in color, luminosity, and texture, resulting in a realistic and captivating effect.
When painting with glazes in miniature artworks, there are a few key tips and insights to keep in mind. Firstly, it’s important to choose a glazing medium that suits your desired effect. There are various mediums available, each with its own properties and drying times. Experimenting with different mediums will help you find the one that best suits your style and preferences.
Additionally, understanding color theory is crucial when working with glazes. Mixing colors to create harmonious glazes can greatly enhance the overall impact of your artwork. Consider the transparency and opacity of your chosen colors, and experiment with layering to achieve the desired depth and complexity.
To effectively apply glazes, it’s necessary to have patience and a light touch. Applying thin layers of paint allows each glaze to shine through, contributing to the richness and luminosity of the final artwork. Building up multiple layers gradually is the key to achieving the desired effect.
With the glazing technique in your repertoire, you’ll have the power to bring depth, vibrancy, and realism to your miniature paintings. By understanding the principles behind glazing and experimenting with different materials and techniques, you can unlock the full potential of this versatile and captivating technique.
The Benefits of Glazing in Miniature Painting
When it comes to miniature painting, mastering the glazing method can open up a world of possibilities for artists. Glazing involves applying translucent layers of paint on a previously painted surface, allowing light to pass through and create a stunning visual effect. The results can be truly remarkable, enhancing the overall quality of your miniature artworks.
One of the key benefits of glazing in miniature painting is the ability to achieve vibrant and intense colors. By layering transparent glazes over base colors, you can gradually build up the saturation and depth of hues. This technique allows for unparalleled control over color intensity and saturation.
Glazing also enables artists to create smooth transitions and gradients in their miniature artworks. By applying multiple layers of translucent paint, you can seamlessly blend colors and achieve a realistic, soft appearance. This technique is particularly effective in capturing the subtle variations of light and shadow in miniature scenes.
“Glazing is like a magic wand in miniature painting. It adds a whole new level of depth and dimension to my artworks.” – Grace Thompson, renowned miniature artist
Moreover, glazing adds a sense of realism to your miniature paintings. The transparent nature of glazes allows underlying layers of paint to shine through, resulting in a natural translucency and luminosity. This effect replicates the way light interacts with objects in the real world, giving your miniature artworks a lifelike quality.
However, glazing requires patience and precision to master. It’s important to exercise control in glaze application, as too much or too little can affect the desired outcome. Additionally, understanding the properties of your paints and experimenting with different glazing techniques will help you achieve the desired effects.
Benefits of Glazing in Miniature Painting:
- Enhanced color vibrancy
- Smooth transitions and gradients
- Realistic and lifelike appearance
With practice and a deep understanding of the glazing method, artists can take their miniature paintings to new heights. The glazing technique offers endless possibilities for creating stunning and visually captivating artworks.
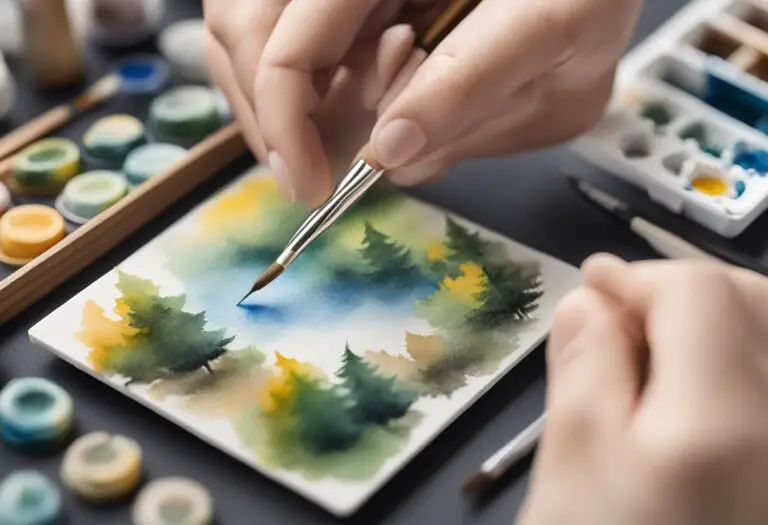
How to Glaze in Miniature Painting
Applying glazes in miniature painting can elevate the level of detail and depth in your artworks. In this section, we will guide you through a step-by-step process on how to successfully glaze your miniature paintings.
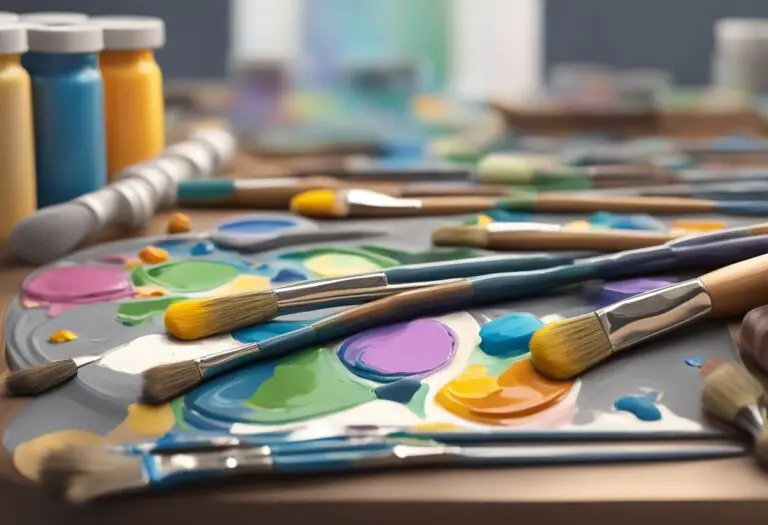
Gather the Materials
Before you begin glazing, make sure you have the necessary materials at hand:
- Miniature paint brushes
- Acrylic or oil paints
- Glazing medium
- Palette
- Container for water or solvent
- Clean cloth or paper towels
Prepare the Surface
Prior to glazing, ensure that your miniature painting surface is clean and dry. Remove any dust or debris using a soft brush or compressed air. If necessary, apply a base layer of paint and let it dry completely before proceeding to the glazing technique.
Mix the Glaze
Next, prepare your glaze by mixing a small amount of paint with the glazing medium on your palette. The glaze should have a transparent and diluted consistency. Experiment with different proportions to achieve the desired effect.
Apply the Glaze
Using a clean brush, dip it into the glaze mixture and apply a thin, even layer to the desired area of your miniature painting. Work in small sections, allowing the glaze to dry before applying subsequent layers. Remember to maintain a light touch and avoid overloading the brush with glaze.
Pro Tip: It’s important to build up the glazes gradually to achieve depth and create realistic effects. Don’t be afraid to experiment with different colors and layering techniques to achieve the desired visual impact.
Blend and Control
While the glaze is still wet, you can manipulate its appearance by blending it with a dry brush or a clean cloth. This allows you to control the intensity and smoothen the transition between colors. Take your time and work patiently to achieve the desired result.
Let It Dry and Evaluate
Once you have applied the glazes to your satisfaction, set the miniature painting aside and let the glazes dry completely. This can take anywhere from a few minutes to a few hours, depending on the type of paint and glazing medium used. Once dry, evaluate the effect of the glaze and make adjustments if necessary.
| Advantages of Glazing in Miniature Painting | Disadvantages of Glazing in Miniature Painting |
|---|---|
| – Adds depth and luminosity to the artwork | – Requires patience and precision |
| – Enhances color vibrancy | – Can be time-consuming |
| – Creates smooth transitions between colors | – Requires skill and practice to master |
| – Adds a sense of realism to the painting | – Can be challenging to correct or remove mistakes |
Glazing in miniature painting is a technique that requires practice and patience. With time, you will develop a feel for the process and gain confidence in creating stunning miniature artworks. Don’t be afraid to experiment and explore different variations of glazing to unlock the full potential of this method.
Choosing the Right Glazing Medium
In miniature painting, choosing the right glazing medium is essential for achieving the desired results. Different glazing mediums offer unique characteristics that can significantly impact the glazing process and the final outcome of your artwork. Understanding these mediums and their properties is crucial for artists seeking to enhance their miniature paintings with the glazing technique.
Below, we explore some common types of glazing mediums and their key features:
1. Traditional Glazing Medium
Traditional glazing medium is a classic choice for artists who prefer a more traditional and time-tested approach to glazing. It typically consists of a mixture of linseed oil and varnish, providing a smooth and glossy finish to the glaze layers. Traditional glazing medium ensures excellent color transparency, allowing the underlying layers to shine through and create luminosity in the painting.
2. Acrylic Glazing Medium
Acrylic glazing medium is a popular choice among contemporary miniature painters due to its quick drying time and versatility. It is an acrylic-based medium that can be mixed with acrylic paints, making it easier to achieve vibrant glazes. Acrylic glazing medium offers excellent color clarity and can create both glossy and matte finishes, depending on the desired effect.
3. Gel Glazing Medium
Gel glazing medium is a thick, gel-like substance that provides artists with greater control over the glazing process. It extends the drying time of the glazes, allowing artists to work with them for longer periods. Gel glazing medium can be used to create varied textures and effects, such as impasto glazes, which add depth and dimension to the painting.
4. Solvent-based Glazing Medium
Solvent-based glazing mediums are often chosen by artists who prefer oil-based paints for their glazes. These mediums are typically composed of a combination of solvents, such as turpentine or mineral spirits, mixed with oil paints. Solvent-based glazing mediums offer excellent flow and blending capabilities, enabling artists to achieve smooth transitions and subtle color variations.
| Glazing Medium | Type | Key Features |
|---|---|---|
| Traditional Glazing Medium | Oil-based | Smooth, glossy finish; excellent color transparency |
| Acrylic Glazing Medium | Acrylic-based | Quick drying time; vibrant glazes; glossy or matte finish |
| Gel Glazing Medium | Water-based gel | Extended drying time; textured effects; impasto glazes |
| Solvent-based Glazing Medium | Oil-based | Flow and blending capabilities; smooth transitions; subtle color variations |
When choosing the right glazing medium for your miniature painting, consider the medium’s compatibility with your chosen paints, the desired drying time, and the effect you wish to achieve. Experimentation with different mediums is often key to discovering the perfect glazing technique for your artistic style.
Achieving Depth and Dimension with Glazes
In miniature painting, utilizing glazes can be a powerful technique to create a sense of depth and dimension in your artwork. By strategically layering translucent colors, shadows, and highlights, artists can enhance the visual impact of their miniatures. Here, we will explore various techniques and methods that can help you achieve remarkable depth and dimension with glazes.
Layering Glazes
One effective technique for creating depth is by layering glazes. Start by painting your base layer and allow it to dry completely. Then, apply thin layers of glaze on top, gradually building up the intensity of the color. This layering process adds richness and complexity to the miniature, as the different glazes interact with each other, creating a sense of depth in the artwork.
By building up layers of glazes, artists can mimic the way light interacts with different layers of objects in the real world, resulting in a more realistic and three-dimensional appearance.
Glazing Shadows and Highlights
Another technique to enhance depth and dimension is by selectively glazing shadows and highlights. Apply thin, translucent glazes over the areas where shadows fall, focusing on building up the darkness gradually. For highlights, use lighter glazes to add brightness and luminosity to specific areas of the miniature. This technique emphasizes the contrast between light and dark, creating a more pronounced sense of depth.
Blending Techniques
Mastering the art of blending is crucial when creating depth with glazes. By smoothly transitioning between different shades and colors, you can achieve a seamless and realistic appearance. Use soft brushes and gentle strokes to blend the glazes together, ensuring a gradual and natural transition between colors. This technique creates a smooth, gradient effect that adds depth and dimension to your miniature artworks.
| Technique | Description |
|---|---|
| Layering Glazes | Build up multiple layers of translucent glazes to create richness and complexity in the artwork. |
| Glazing Shadows and Highlights | Selectively apply glazes to enhance the contrast between light and dark, creating depth and dimension. |
| Blending Techniques | Master the art of blending to create seamless transitions between different shades and colors. |
By incorporating these techniques into your miniature painting process, you can elevate the visual impact of your artworks, adding depth and dimension that captivates the viewer. Remember to experiment with different glazes, colors, and blending techniques to find what works best for your artistic style and desired results.
Enhancing Realism with Glazes
In the world of miniature painting, glazes can be a game-changer when it comes to achieving realism. By using glazes strategically, artists can simulate texture, lighting, and reflections, breathing life into their miniature artworks.
One effective technique for enhancing realism is to create the illusion of texture. By applying thin layers of glaze over different areas of the painting, artists can mimic the appearance of rough surfaces, such as wood grain or stone. This method adds depth and dimension to the artwork, making it visually engaging and realistic.
Lighting is another crucial element in realistic painting, and glazes can help achieve the desired effects. By carefully applying translucent glazes over the painting, artists can create the illusion of light passing through objects or casting shadows. This technique adds a sense of depth and realism, making the artwork appear more three-dimensional.
Reflections are often key in capturing realism, particularly in miniature paintings. Glazes can be used to create the appearance of reflective surfaces, such as glass or water. By carefully applying transparent glazes in areas where reflections occur, artists can achieve a convincing and captivating effect.
When using glazes to enhance realism, artists should keep in mind the importance of layering. Building up thin layers gradually allows for better control over the final result and ensures a smooth transition between colors and effects. It’s important to experiment and practice to perfect the glazing process and achieve the desired level of realism in miniature artworks.
Troubleshooting Common Glazing Issues
While the glazing method in miniature painting can produce stunning results, artists may encounter common issues during the process. Understanding these challenges and knowing how to troubleshoot them can help artists achieve the desired outcome. Here are some tips and solutions to address common glazing issues:
Uneven Glazes
Uneven application of glazes can result in an inconsistent appearance. To achieve smooth and even glazes, ensure that the surface is clean and properly prepared before applying the glaze. Use a soft brush and apply thin layers of glaze, allowing each layer to dry before applying the next. Avoid overloading the brush or applying too much pressure, as this can cause uneven distribution. Gradually build up the glazes until you achieve the desired effect.
Color Shifts
Color shifts can occur when the glaze alters the base color of the artwork. To minimize color shifts, it is essential to select compatible glazes that work harmoniously with the underlying colors. Test the glazes on a separate surface before applying them to your artwork. If you encounter color shifts, you can adjust the glaze by adding a small amount of the base color or using a different glaze with a closer hue. Remember to experiment and test on a separate surface to ensure the desired result.
Drying Issues
Drying issues, such as prolonged drying time or tackiness, can be frustrating when working with glazes. To accelerate drying, ensure proper ventilation and maintain an optimal painting environment. Avoid applying thick layers of glaze, as they can take longer to dry. If you are still experiencing drying issues, you can try adding a drying medium to your glaze mixture or lightly misting the surface with a drying agent. Always follow the manufacturer’s guidelines for the specific glaze medium you are using.
Troubleshooting common glazing issues is an essential skill for artists working with the glazing method in miniature painting. By implementing these tips and solutions, artists can overcome these challenges and create stunning and visually captivating miniature artworks.
| Common Glazing Issues | Troubleshooting Tips |
|---|---|
| Uneven Glazes | Ensure surface is clean and properly prepared. Use a soft brush and apply thin layers of glaze. Avoid overloading the brush or applying too much pressure. |
| Color Shifts | Select compatible glazes and test them before applying. Adjust the glaze by adding a small amount of the base color or using a different glaze with a closer hue. |
| Drying Issues | Ensure proper ventilation and optimal painting environment. Avoid applying thick layers of glaze. Add a drying medium or mist the surface with a drying agent if necessary. |
Advanced Glazing Techniques and Variations
As artists become more proficient in the glazing technique, they can explore advanced methods and variations to further enhance their miniature paintings. These techniques provide opportunities for creativity and experimentation, allowing artists to achieve unique and stunning effects.
1. Scumbling
Scumbling is a technique where a thin layer of opaque paint is applied over a previously glazed area. This creates a textured effect and adds visual interest to the painting. Artists can use scumbling to highlight specific areas or create a sense of depth by adding varying layers of scumbled paint.
2. Wet-in-Wet Glazing
Wet-in-wet glazing involves applying glazes onto wet paint layers. This technique allows for smooth and seamless blending of colors, creating soft transitions and subtle variations in tone. By working quickly and strategically, artists can achieve a beautiful, cohesive look in their miniature paintings.
3. Layering Multiple Glazes
To achieve complex color variations and depth, artists can layer multiple glazes onto their miniature paintings. Each glaze adds a distinct layer of color, contributing to a rich and dynamic final result. Careful consideration of color choices and layering order can create captivating visual effects.
By exploring these advanced glazing techniques and variations, artists can push the boundaries of their miniature paintings and unlock new realms of creativity. These methods offer endless possibilities for creating depth, texture, and visual interest in their artworks.
| Advantages | Considerations |
|---|---|
| Creates textured effects | Requires careful planning and execution |
| Allows for smooth blending of colors | May require additional drying time |
| Provides complex color variations | Requires knowledge of color theory |
| Enhances depth and visual interest | Requires practice and experimentation |
Conclusion
Mastering the glazing method in miniature painting offers a world of artistic possibilities. By applying transparent layers of paint, artists can achieve depth, luminosity, and a sense of realism in their artworks. Through this article, we have explored the glazing process and its numerous benefits in miniature painting.
One of the key takeaways is the importance of practice and experimentation when using the glazing technique. It may take time to develop proficiency, but with patience and dedication, artists can unlock the full potential of glazes. By layering and blending colors, they can create smooth transitions and vibrant hues, bringing their subjects to life on a miniature scale.
Furthermore, the glazing method allows artists to enhance realism by simulating texture, lighting, and reflections. With careful application, glazes can add dimension and a lifelike quality to the artwork. Troubleshooting common issues and exploring advanced techniques can further expand an artist’s repertoire in miniature painting.
In conclusion, the glazing method in miniature painting is a valuable technique for those seeking to elevate their skills and create captivating artworks. By understanding the glazing process, experimenting with different mediums, and honing their glazing techniques, artists can achieve stunning results. So, whether you’re a beginner or an experienced artist, don’t hesitate to embrace the glazing method and explore the endless possibilities it offers.