Keep Miniatures Vibrant: Avoiding Paint Drying
Are you tired of your painstakingly painted miniatures drying out before you can add those last intricate details? Do you find that your colors lose their vibrancy too quickly, leaving your miniature projects looking lackluster? In the world of miniature painting, keeping the paint wet is essential for achieving vibrant colors and fine detailing.
But fear not! In this article, we will explore some miniatures painting tips to help you avoid paint drying on your mini masterpieces. From understanding paint drying times to creating the perfect workspace and selecting the right paints, we’ve got you covered. So, let’s dive in and discover the secrets to keeping your miniatures vibrant and your creativity flowing.
Understanding Paint Drying Times
When it comes to painting miniatures, understanding paint drying times is crucial for achieving the desired results. Various factors can influence how quickly paint dries, including environmental conditions, paint type, and application technique. By implementing certain techniques and following best practices, you can effectively delay paint drying and ensure optimal results.
Factors Affecting Paint Drying
Before diving into techniques to delay paint drying, it is important to understand the factors that influence drying times. These include:
- Environmental conditions: Temperature, humidity, and air circulation can all impact how quickly paint dries. Warmer temperatures and low humidity tend to accelerate drying, while cooler temperatures and higher humidity can slow it down.
- Paint type: Different types of paints, such as acrylics or enamels, have varying drying times. It’s essential to choose paints that are suitable for miniatures and offer longer drying times.
- Application technique: The thickness of paint application and the use of thinners or mediums can affect drying times. Thicker layers generally take longer to dry, while thinners and mediums can extend the drying time.
Techniques to Delay Paint Drying
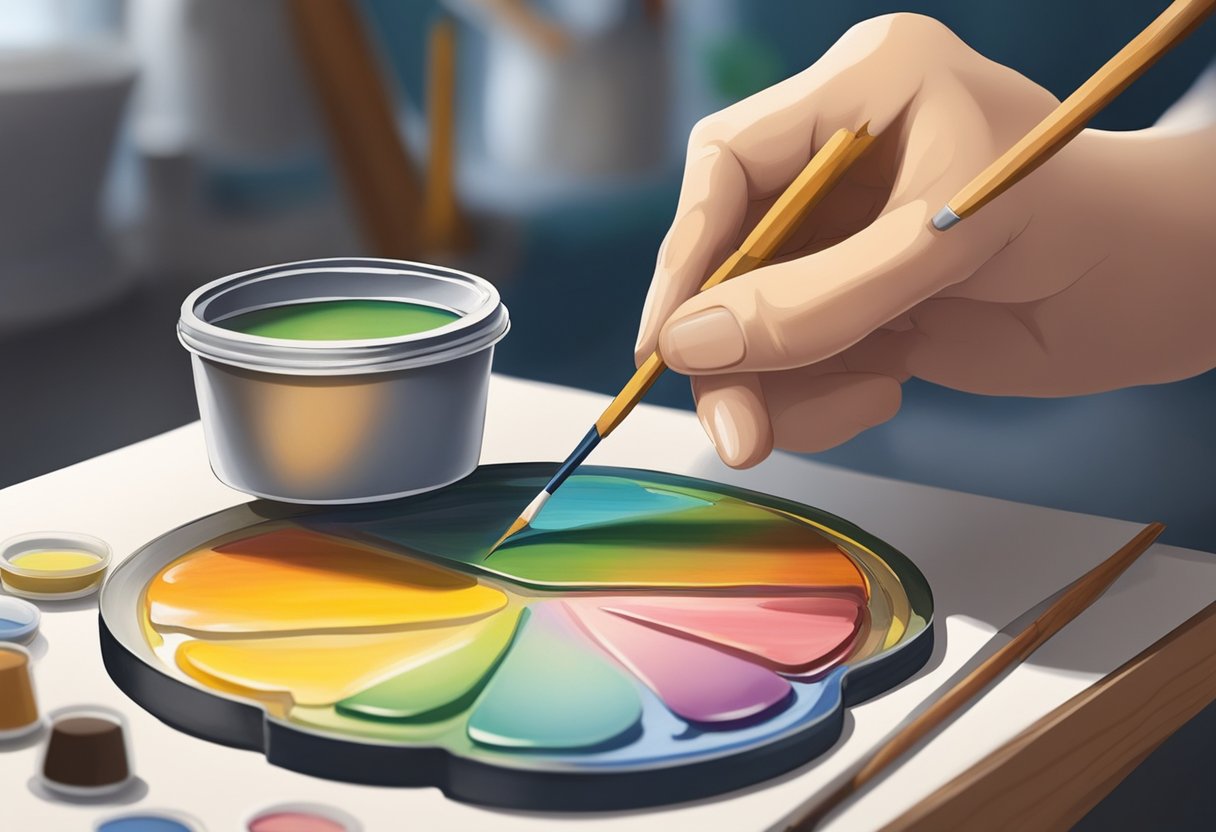
To effectively delay paint drying when working on miniatures, consider the following techniques:
- Work in small sections: Instead of trying to paint the entire miniature at once, break it down into smaller sections. This allows you to focus on one area at a time, preventing the paint from drying before you can finish.
- Utilize wet palettes: Wet palettes provide a controlled environment for the paint, keeping it moist for extended periods. They are particularly useful for long painting sessions or when blending colors.
- Manage paint consistency: Adjusting the paint consistency can help delay drying. Thinning the paint with water or using paint retarders can provide more working time before it dries.
- Work in layers: Build up the paint layers gradually instead of applying thick coats all at once. This allows each layer to dry partially before adding the next, preventing the paint from drying too quickly.
- Use paint extenders: Paint extenders can be added to the paint to prolong its drying time. These products slow down the evaporation process, giving you more time to work on intricate details.
By understanding how different factors affect paint drying times and implementing these techniques, you can ensure a smoother painting process and achieve vibrant and detailed results on your miniatures.
Preparing Your Workspace
Creating an ideal workspace is essential for preventing paint from drying too quickly while painting miniatures. By setting up a proper environment, you can ensure that your paint stays wet for longer periods, allowing for better control and smoother application.
1. Choose a Suitable Location
Select a well-ventilated room with moderate humidity levels for your painting area. Avoid humidifiers or dehumidifiers, as extreme moisture levels can affect the drying time and consistency of the paint.
2. Control the Temperature
Avoid painting in environments with extreme temperatures, as this can cause the paint to dry too quickly or take longer to dry. Aim for a consistent, comfortable temperature between 65°F and 75°F (18°C and 24°C) to maintain optimal drying conditions.
3. Use a Damp Cloth or Palette Paper
Keep a damp cloth or palette paper handy to cover your paint palette when not in use. This helps to prevent the paint from drying out prematurely and allows you to work with the paint for an extended period.
4. Limit Exposure to Air
Minimize the amount of time your paint pots or tubes are left open to prevent excessive exposure to air. When not in use, always seal your paint containers tightly to maintain the moisture and prevent drying.
5. Control Lighting
Avoid direct sunlight or intense artificial lighting, as they can generate heat and accelerate the drying process. Instead, opt for diffused natural light or full-spectrum LED lights that provide consistent illumination without generating excessive heat.
6. Use a Palette with a Lid
Invest in a palette with a lid or consider using a wet palette. A palette with a lid helps to keep the paint moist and can be easily sealed when not in use. A wet palette, on the other hand, uses a semi-permeable paper or membrane to keep the paint hydrated for an extended period.
7. Work in Small Sections
Break down your painting process into smaller sections, focusing on one area at a time. This allows you to work more efficiently and reduces the chances of the paint drying before you have finished your work.
By following these tips and setting up your workspace properly, you can ensure that your paint stays wet for longer periods while painting miniatures. This will enable you to achieve better results and maintain vibrant, detailed colors throughout your painting process.
Choosing the Right Paints and Mediums
Selecting the appropriate paints and mediums is crucial for achieving desired results in miniature painting. When looking to avoid paint drying on miniatures, it is essential to choose products that have longer drying times, allowing for better control over the painting process. Here are some tips for selecting the right paints and mediums:
- Acrylic Paints: Opt for acrylic paints that have a slower drying time. These types of paints typically have a longer open time, which means the paint takes longer to dry on the palette and stays wet on the miniature for a longer period. Look for brands that offer paints specifically designed for miniature painting, as they often have formulations that provide extended drying times.
- Oil-based Paints: Consider using oil-based paints for miniature painting projects. Oil-based paints have a much slower drying time compared to acrylics, allowing for more time to work on blending and shading. However, keep in mind that oil-based paints require different application techniques and additional drying time between layers.
- Retarders: Incorporate paint retarders into your painting process. Retarders are additives that slow down the drying time of acrylic paints, giving artists more time to work with the paint. Simply mix a small amount of retarder into your paint before application. However, be cautious not to add too much retarder, as it can impact the overall integrity of the paint.
- Gel Mediums: Utilize gel mediums to extend the drying time of acrylic paints. Gel mediums are thick, paste-like substances that can be mixed with paints to increase their viscosity and slow down the drying process. These mediums not only provide longer working times but also enhance the texture and body of the paint.
By selecting paints and mediums that have longer drying times, artists can avoid the frustration of paint drying too quickly on their miniatures. Experimenting with different brands and formulations can help find the perfect combination that suits individual preferences and painting techniques.
Utilizing Wet Palettes
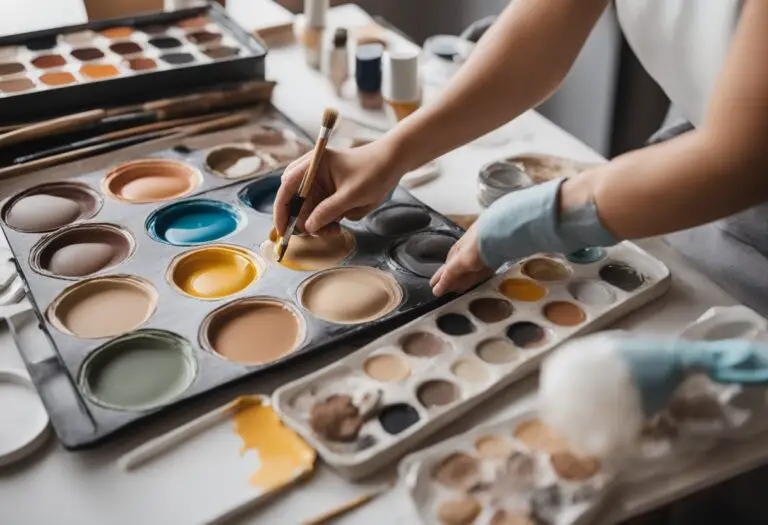
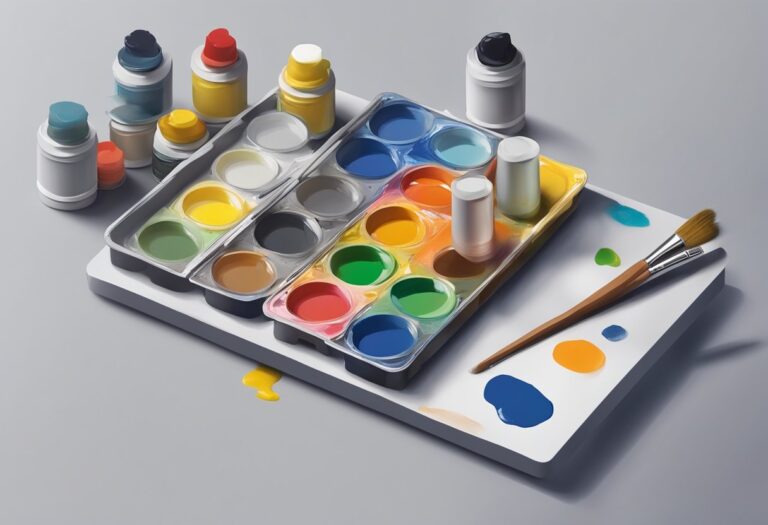
When it comes to keeping paint wet on miniatures and prolonging drying time, one technique that many artists swear by is utilizing wet palettes. Wet palettes offer several benefits over traditional palettes, allowing for better control and longer working time with the paint.
The Benefits of Wet Palettes
- Extended Paint Life: Wet palettes provide a moist environment for the paint, preventing it from drying out quickly and allowing artists to work with the paint for extended periods.
- Smooth Paint Consistency: The moisture in wet palettes helps maintain the paint’s consistency, ensuring a smooth application and minimizing the risk of brush strokes or uneven coverage.
- Color Mixing: Wet palettes are ideal for color mixing as they allow artists to easily blend different shades and create custom colors without the risk of the paint drying out too quickly.
- Preserving Unused Paint: With a wet palette, artists can keep unused paint wet and usable for longer periods, minimizing paint wastage and saving money in the long run.
Creating and Using a Wet Palette
Creating a wet palette is a simple process that requires just a few materials:
- A shallow container or palette with an airtight lid, such as a plastic or glass dish.
- An absorbent material, such as a sponge or paper towel, that fits inside the container.
- Parchment or baking paper cut to fit inside the container, on top of the absorbent material.
- Water to moisten the absorbent material.
Tip: You can also purchase ready-made wet palettes from art supply stores or online retailers.
Once you have gathered the materials, follow these steps to create and use a wet palette:
- Moisten the absorbent material in the container with water, ensuring it is damp but not soaking wet.
- Place the parchment or baking paper on top of the moist absorbent material, smooth it out, and press down gently to remove any excess water.
- Add your desired paint colors to the wet palette, squeezing them onto the parchment paper.
- Close the container or palette with the airtight lid to seal in the moisture.
- As you paint, periodically add small amounts of water to the absorbent material to maintain the desired level of moisture.
- When you’re finished painting, clean the wet palette by discarding the used parchment paper and cleaning the container and absorbent material. Repeat the process when you’re ready to paint again.
Utilizing a wet palette can significantly enhance your miniature painting experience by keeping the paint wet and workable for longer periods. Experiment with this technique and find the best wet palette setup that suits your painting style and preferences.
Managing Paint Consistency
When it comes to achieving the best results in miniature painting, finding the right paint consistency is crucial. By understanding how to manage your paint’s thickness, you can extend its drying time and have more control over the application process. Here are some valuable tips to help you find the optimal paint consistency for your miniature painting projects.
1. Thinness Matters
When starting a painting session, it’s recommended to begin with a slightly thinner paint consistency. This allows for smoother application and easier blending. By adding a few drops of water or a thinning medium to your paint, you can achieve the desired consistency for a longer working time.
2. Test and Adjust
Experimentation is key when it comes to paint consistency. Start by testing the paint on a scrap piece of miniature or a palette. If the paint appears too thick and doesn’t flow smoothly, gradually add water or thinning medium until you achieve the desired viscosity. Remember to mix the paint thoroughly to ensure an even consistency.
Pro Tip: “The right paint consistency should allow the brushstroke to flow easily without being too watery or leaving visible brush marks.” – Renowned miniature painter
3. Recognize Different Needs
Keep in mind that different applications may require slightly altered paint consistencies. For base coating or applying large areas of color, a slightly thinner consistency is favorable to achieve smooth and even coverage. On the other hand, for fine details and layering, it’s best to use a slightly thicker consistency to retain control and prevent unwanted messiness.
4. Thin Glazes for Depth
To create depth and add dimension to your miniatures, consider using thin glazes. Dilute your paint with water or a glazing medium to a very watery consistency. Apply multiple thin layers of glaze, allowing each layer to dry before adding the next. This technique not only extends the drying time but also adds subtle shading and highlights to enhance the overall appearance of your miniatures.
5. The Palette Test
Another useful method for managing paint consistency is the palette test. Create a small pool of paint on your palette and observe how it flows and settles. If the paint levels out smoothly and doesn’t leave visible brush ridges, it’s at the right consistency. If it’s too thick, add a few drops of water or thinning medium and mix well until you achieve the desired texture.
- Regularly observe your paint consistency while working, making adjustments as needed to maintain the desired viscosity.
- Remember that different paints and brands may have different drying properties, so experimentation and practice are key to finding the optimal consistency for your needs.
- If you’re using multiple colors in a project, ensure consistency across all paints by following the same thinning process for each.
By proactively managing your paint consistency, you can significantly prolong the drying time and improve the overall quality of your miniature painting. Experiment with different techniques, keep practicing, and soon you’ll master the art of achieving the perfect paint consistency for stunning and long-lasting results.
Working in Sections and Layers
When it comes to painting miniatures, one of the best practices is to work in sections and layers. This technique not only helps prevent paint from drying too quickly but also ensures smooth and even coverage, resulting in stunning finished models.
The key to working in sections is to break down the miniature into smaller areas and focus on painting them individually. Start with the largest section or the one that requires the base color. Apply thin and even coats, allowing each layer to dry before moving on to the next. This will help build up the desired intensity of color without risking the paint drying out.
Once the base color is dry, it’s time to move on to the layers. Using successively lighter or darker shades, apply thin glazes or washes to add depth and dimension to the miniature. Work from the deepest recesses outward, gradually building up the layers. This technique enhances the details and creates a more realistic and visually appealing finish.
Another advantage of working in sections and layers is the ability to correct mistakes or make adjustments without jeopardizing the entire painting. If a particular section doesn’t turn out as expected, it can be easily corrected or repainted without affecting the rest of the miniature.
Working in sections and layers allows for greater control over the painting process, ensuring that the paint stays wet for longer and achieving a more professional-looking result. It’s a key technique in the miniatures painting guide, employed by experienced artists to create stunning and vibrant models.
Remember to take breaks between layers and sections to allow the paint to fully dry and set before moving on. This patience will help avoid smudging or blending colors unintentionally.
Benefits of Working in Sections and Layers:
- Prevents paint from drying too quickly
- Ensures smooth and even coverage
- Enhances details and adds depth to the miniature
- Allows for easy correction of mistakes or adjustments
- Creates a more professional-looking finish
By incorporating the technique of working in sections and layers into your miniature painting process, you can achieve the best results and take your skills to the next level. Practice this approach and witness the transformation of your miniatures into stunning works of art.
Using Retarder and Extenders
When it comes to achieving intricate details and preventing paint from drying too quickly on miniatures, artists can utilize the power of paint retarders and extenders. These handy tools are designed to slow down the drying process, giving painters more time to work on their creations without worrying about the paint drying out.
Retarders are specifically formulated additives that can be mixed with acrylic paints to delay the drying time. They work by altering the composition of the paint, allowing it to stay wet and workable for a longer period. By adding a small amount of retarder to your paint mixture, you can extend the drying time and maintain a smoother application.
Extenders function similarly to retarders but are usually used in conjunction with oil-based paints. These additives serve to increase the open time of the paint, allowing for more blending and layering. By incorporating extenders into your painting process, you can avoid the frustration of paints drying too fast and achieve seamless transitions between colors.
“Using a retarder or an extender can make a world of difference in miniature painting. These additives give me the extra time needed to perfect the finest details without worrying about the paint drying too quickly.” – Rebecca, professional miniature painter
When working with retarders and extenders, it is important to follow the manufacturer’s instructions and experiment with different ratios to achieve the desired effect. Remember that a little goes a long way, so start with small amounts and gradually increase if needed.
By incorporating retarders and extenders into your miniature painting process, you can unlock new possibilities and enjoy a more relaxed and controlled painting experience. These techniques to delay paint drying and avoid the frustration of premature drying are essential tools in the hands of any miniature artist.
Adding Humidity
Creating a humid environment in your workspace is an effective method to prevent paint from drying too quickly on your miniatures. By increasing the humidity, you can extend the drying time of the paint, allowing for more time to work on intricate details and achieve the desired results.
Here are some practical tips to help you add humidity to your painting area:
1. Use a Humidifier
A humidifier is a fantastic tool for maintaining optimal humidity levels in your workspace. By adding moisture to the air, it creates a more humid environment, slowing down the drying process of the paint on your miniatures. Place the humidifier near your painting station and adjust the settings according to your needs.
2. Cover Water Containers
If you’re using water containers during your painting sessions, cover them with a lid or plastic wrap. This simple step helps minimize water evaporation and retains moisture in the air, thus increasing humidity levels around your miniatures.
3. Dampen a Cloth or Sponge
Maintain humidity by dampening a cloth or sponge and placing it near your painting area. The evaporating moisture will add humidity to the air, creating an environment that slows down the drying of your paint.
4. Paint in a Closed Room
Working in a smaller, closed-off room can help maintain higher humidity levels. Enclosing the space reduces air circulation and prevents moisture from escaping. This can be especially beneficial if you live in a dry climate or during the winter months when humidity levels tend to be lower.
5. Seal Paint Containers
When not in use, make sure to seal your paint containers tightly. This prevents the paints from drying out and helps maintain their consistency. Additionally, ensure that the paint lids are correctly closed between brushstrokes to minimize evaporation.
“By increasing the humidity in your painting area, you can achieve better control over the drying time of your paints, allowing for smoother blending and finer details.” – Professional Miniature Artist
Integrating these humidity-boosting techniques into your painting routine can significantly enhance your miniature painting experience. By preventing paint from drying too quickly, you’ll have more time to refine your techniques and create stunning, vibrant miniatures.
Storing and Maintaining Wet Paints
Properly storing and maintaining wet paints is crucial for miniature painters who want to avoid paint drying and ensure optimal results. By following these tips, you can keep your paint wet and ready for the next painting session:
- Seal the containers: To prevent air from drying out the paint, make sure to tightly seal the containers after each use. This will help maintain the moisture and extend the paint’s lifespan.
- Store in a cool environment: Heat can accelerate the drying process, so it is important to store your paint in a cool and dry area. Consider keeping them in a temperature-controlled room or cabinet.
- Use a palette with a lid: Invest in a palette with a lid or cover it with plastic wrap to create a seal. This will help keep the paint moist for longer periods, allowing you to return to your work without the paint drying out.
- Add a wet sponge: Placing a damp sponge or cloth inside the palette can add humidity and prevent the paint from drying out too quickly. The moist environment created by the sponge will keep the paint wet and workable.
- Utilize paint storage containers: Consider using airtight paint storage containers designed specifically for miniature paints. These containers are designed to keep the paint fresh and moist for extended periods.
By following these simple yet effective practices, you can ensure that your wet paints remain in the perfect condition for your next painting session. Storing and maintaining wet paints not only allows for smoother and more precise brushstrokes but also saves time and money by avoiding the need to constantly remix dried paint.
Conclusion
In conclusion, avoiding paint drying on miniatures is crucial for achieving vibrant and detailed results in miniature painting. Throughout this article, we have explored various techniques and tips to help artists keep their paints wet for longer periods, allowing for better control and creativity.
By understanding the factors that affect paint drying times, creating a suitable workspace, choosing the right paints and mediums, and utilizing wet palettes, artists can extend the drying time and work on intricate details with ease.
Additionally, managing paint consistency, working in sections and layers, using retarders and extenders, and adding humidity can further prevent paint from drying too quickly on miniatures.
By incorporating these techniques into your miniature painting process, you can say goodbye to the frustration of dried-out paint and hello to vibrant and lifelike creations. So, remember to prioritize avoiding paint drying on your miniatures and enjoy the limitless possibilities that come with it!


