How to paint Miniature eyes
Have you ever marveled at the intricate and expressive eyes in beautifully painted miniatures? Are you a beginner in the world of miniature painting, eager to learn the secrets behind creating captivating and lifelike eyes? Look no further! In this tutorial, we will unravel the techniques and tips to help you master the art of painting miniature eyes.
Miniature eye painting is a skill that requires careful attention to detail and a steady hand. Whether you’re an avid tabletop gamer, a collector of miniatures, or a hobbyist looking to enhance your painting skills, this comprehensive guide will equip you with the knowledge and techniques needed to bring your miniatures to life.
From understanding the anatomy of the eye to selecting the right tools and materials, each section will take you through the step-by-step process of painting miniature eyes. You’ll discover the secrets of achieving realistic textures, capturing the play of light and shadow, and adding final touches that truly make the eyes sparkle.
So, are you ready to unlock the mysteries of miniature eye painting? Let’s dive in and discover the fascinating world of creating captivating and expressive eyes on your miniatures.
Understanding the Anatomy of the Eye
Before diving into the painting process, it’s essential to have a good understanding of the basic structure and features of the eye. By familiarizing yourself with the different parts of the eye, you can effectively capture the intricacies and natural appearance when painting miniatures.
The eye consists of several key components that contribute to its realistic portrayal. Let’s take a closer look at each of them:
1. Eyeball
The eyeball is the spherical structure that houses the various parts responsible for vision. It is surrounded and protected by the eye socket and is responsible for the overall shape of the eye.
2. Iris
The iris is the colored part of the eye that surrounds the pupil. It determines the eye’s overall color and controls the amount of light that enters the eye.
3. Pupil
The pupil is the dark circular opening in the center of the iris. It adjusts its size depending on the lighting conditions, allowing more or less light to enter the eye.
4. Sclera
The sclera refers to the white, outermost layer of the eyeball. It provides protection and maintains the shape of the eye.
5. Eyelids
The eyelids are the movable flaps of skin that cover and protect the eye. They play a crucial role in blinking, keeping the eye lubricated, and shielding it from foreign particles.
6. Eyelashes
Eyelashes are the small, hair-like structures that grow from the edge of the eyelids. They help prevent debris from entering the eye and also add depth and detail to the eye when painting miniatures.
Understanding the anatomy of the eye is essential for painting miniatures with precision and accuracy. By paying attention to these intricate details, you can bring your miniatures to life and create realistic eyes that capture the viewer’s attention.
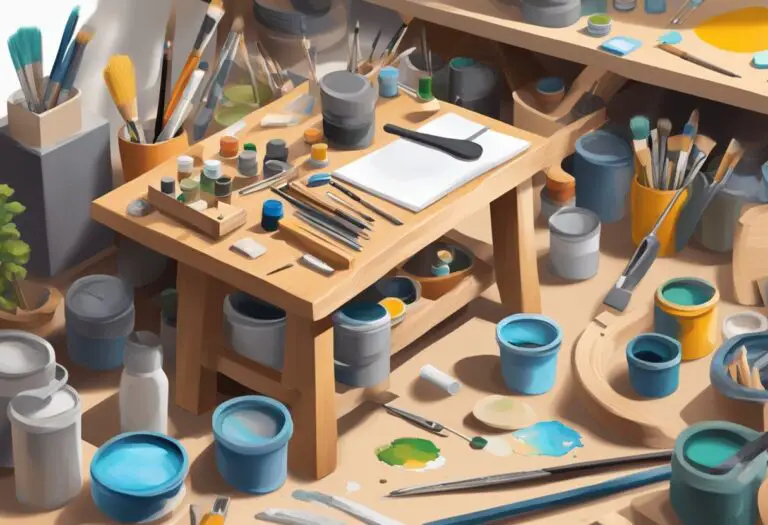
Gathering the Necessary Supplies
When it comes to painting miniature eyes, having the right tools and materials is crucial. This section will guide you through the essential supplies you’ll need to achieve stunning results in your miniature paintings.
1. Brushes
Crafting detailed and intricate eyes requires precision, and the right brushes can make all the difference. Invest in a set of high-quality miniature paint brushes with fine tips. Look for brushes specifically designed for miniature painting or fine detail work. A variety of brush sizes, including small and ultra-fine options, will give you the flexibility to work on different scales and achieve the level of detail you desire.
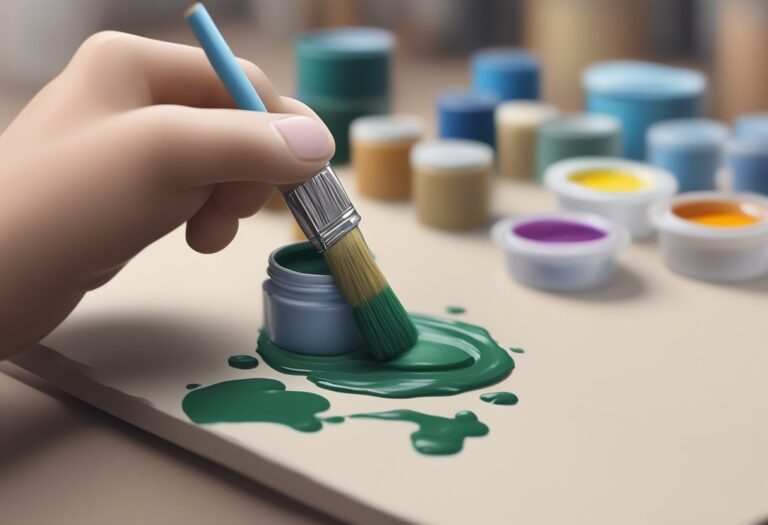
2. Paints
Selecting the right paints is crucial for achieving realistic and lifelike eyes. Acrylic paints are widely used in miniature painting due to their versatility and fast-drying nature. Look for paints with a wide range of colors, including various shades of blue, brown, and green for the iris, as well as whites and blacks for highlights and pupils. Opt for paints specifically formulated for miniature painting, as they often have high pigmentation and smooth consistency.
3. Magnifying Glass
Working on such small-scale details can strain your eyes, especially if you’re new to miniature painting. Consider using a magnifying glass to enhance your vision and make it easier to see the intricate details of the eyes. There are various magnifying glasses available, including handheld magnifiers and wearable headsets. Experiment with different options to find the one that suits your needs and provides the most comfortable viewing experience.
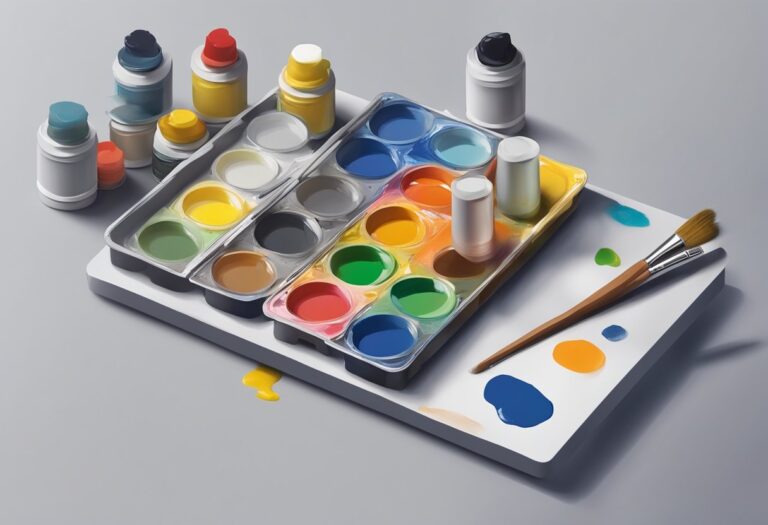
4. Palette
A palette is essential for mixing and diluting paints to achieve the desired colors and consistency. Choose a palette that is easy to clean and has wells or compartments for organizing your paint colors. A palette with a smooth surface will allow you to mix paints efficiently and facilitate easy cleanup between painting sessions.
5. Water and Mixing Medium
Water and a mixing medium are essential for thinning down your paints to achieve smooth, translucent layers. Fill a small container with clean water for rinsing brushes and diluting paints as needed. Additionally, consider using a dedicated mixing medium specifically designed for acrylic paints. Mixing mediums can help improve paint flow, extend drying time, and enhance blending capabilities.
6. Palette Knife or Toothpick
A palette knife or toothpick can be handy tools for precise paint application and removal. They can help you scrape off any mistakes or excess paint, allowing for fine corrections and touch-ups. Additionally, a palette knife can be useful for creating texture or scraping paint to achieve desired effects.
7. Paper Towels or Cloth
Having paper towels or a cloth nearby is essential for keeping your brushes clean and drying excess water or paint from your brush bristles. Patting your brushes gently on a paper towel before switching colors or applying paint will help prevent unwanted mixing and ensure more accurate color results.
Having the right supplies on hand is essential for successful miniature eye painting. Stock up on quality brushes, paints, and additional tools to enhance your overall painting experience and achieve stunning results.
Preparing the Miniature
Before you begin painting the eyes on your miniature, it’s crucial to properly prepare the figure. Taking the time to clean, prime, and plan the color scheme will ensure smooth and accurate results. Follow these step-by-step instructions to set the foundation for your miniature eye painting project.
Cleaning the Miniature
The first step in preparing your miniature is to clean it thoroughly. This process removes any dirt, dust, or mold release agents that may affect the paint’s adhesion. Use a mild soap and warm water solution to gently scrub the miniature, paying close attention to crevices and hard-to-reach areas. Rinse the figure thoroughly and allow it to dry completely before moving on to the next step.
Priming the Miniature
Applying a primer to the miniature is essential for creating a smooth surface that allows the paint to adhere properly. There are various types of primers available, but for miniature painting, it’s recommended to use a primer specifically designed for miniatures. Choose a primer color that complements the overall color scheme of your miniature, keeping in mind that lighter primers work well for brighter colors and darker primers for deeper shades.
Pro Tip: When priming the miniature, make sure to protect the eyes from excess primer. Cover them with a small piece of masking tape or use a precision brush to carefully paint around the eye area.
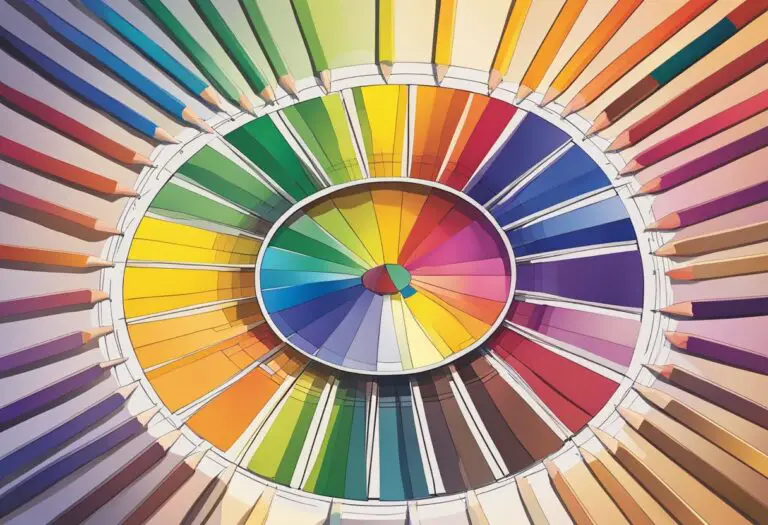
Planning the Color Scheme
Before you start painting the eyes, it’s crucial to plan out the color scheme for the miniature as a whole. Consider the character’s story, environment, and any reference images you may have. Choose colors that harmonize with the overall theme and create a cohesive look. It’s also helpful to create a color palette or swatch chart to reference throughout the painting process.
| Colors for the eyes | Colors for the skin | Colors for the hair |
|---|---|---|
| Shades of blue | Warm beige tones | Rich browns |
| Green and brown tones | Cool pale tones | Blonde and red shades |
| Amber and gold hues | Olive or tan colors | Black or gray tones |
By having a clear plan for your miniature’s color scheme, you can better visualize how the eyes will complement the overall appearance of the figure.
Once you have completed the preparation steps outlined above, you will be ready to move on to the next section of our tutorial: Blocking In the Eye Shape. This is where the real fun begins as you start painting the eyes and bringing your miniature to life!
Blocking In the Eye Shape
In the initial stages of miniature eye painting, it’s essential to focus on blocking in the basic shape and colors of the eye. This creates a solid foundation for the detailed work that follows. Here are some miniature eye painting techniques and tips to help you effectively block in the eye shape:
1. Color selection:
Choose the base color for the eye based on the desired look and character of your miniature. Consider factors such as the eye’s natural color, the lighting conditions, and the overall color scheme of your project. Using a small palette, carefully mix and test different colors to find the perfect shade.
2. Brush control:
Use a small, fine-tip brush for precision and control. Start by dipping the tip of the brush into your chosen color, ensuring that it’s not overloaded with paint. Begin applying the paint along the outer edge of the eye shape, gradually building up the color towards the center. Take your time to ensure a smooth and even application.
3. Shape definition:
Pay attention to the shape and contour of the eye. Use light brush strokes to outline the upper and lower lids, creating a distinct shape. Take note of any specific characteristics or details you want to capture, such as an arched brow or a slightly almond shape. Make adjustments as needed to achieve the desired look.
4. Evaluating proportions:
Regularly step back and evaluate the proportions of the eye shape in relation to the rest of the face. Ensure that it looks natural and balanced. Adjust the shape and size as necessary, keeping in mind the scale of your miniature and the desired aesthetic.
“Blocking in the eye shape is an essential step in miniature eye painting. It provides a solid foundation for capturing the character and expression of the eyes.”
Remember to take your time and practice this technique. It may take a few tries to achieve the desired results, but with patience and perseverance, you’ll master the art of blocking in the eye shape for your miniatures.
Adding Highlights and Shadows
Bringing depth and dimension to miniature eyes is essential for achieving a realistic and lifelike appearance. By strategically adding highlights and shadows, you can create the illusion of light and form, enhancing the overall visual impact. In this section, we will explore various miniature eye painting techniques that beginners can easily apply to enhance their painting skills.
Highlights
When adding highlights to the eyes, it’s important to identify the primary light source. This could be natural sunlight or artificial lighting. By focusing the highlights on specific areas, you can enhance the three-dimensional effect and create a sense of depth in the eyes.
Start by selecting a lighter shade of the base color used for the iris. Using a fine detail brush, gently apply tiny dots or strokes of the light color to the upper part of the iris and the reflection area. This will create a subtle highlight that mimics light bouncing off the eye’s surface.
For a more pronounced effect, you can gradually build up the intensity of the highlight by adding additional layers of the light color. Remember to blend and feather the edges of the highlight to ensure a smooth transition between colors.
Shadows
Shadows play a crucial role in creating depth and adding realism to miniature eyes. They help define the shape and contour of the eye, giving it a more natural appearance. When painting shadows, consider the position of the light source and the anatomy of the eye.
Using a darker shade of the base color, carefully apply shadows to the lower part of the iris, along the creases of the eyelids, and the areas where the lashes cast shadows. Follow the natural curves and contours of the eye to create a seamless integration between the colors.
Blending is key when painting shadows. Use a clean brush or a dry brush technique to soften the edges and create a gradual transition from light to dark. This will ensure a smooth and realistic transition between the highlighted areas and the shadows.
| Highlights | Shadows |
|---|---|
| Enhance depth and dimension | Define shape and contour |
| Focus on light source | Consider anatomy of the eye |
| Use a lighter shade of base color | Use a darker shade of base color |
| Apply in reflection area and upper iris | Apply in lower iris, eyelid creases, and shadow areas |
| Blend and feather edges | Blend and soften edges |
By mastering the art of adding highlights and shadows, you can take your miniature eye painting skills to the next level. These techniques allow you to create depth, realism, and visual interest in the eyes, making your miniatures more captivating and lifelike.
Painting the Iris and Pupil
When it comes to painting miniature eyes, the iris and pupil are the focal points that bring life and depth to the overall look. Mastering the techniques for painting these intricate details is crucial for achieving realistic and captivating eyes on your miniatures.
One important aspect to consider is achieving realistic color variations within the iris. Start by selecting a base color for the iris, which can be a realistic brown, blue, green, or any other color that suits your miniature’s character. Using a fine-tipped brush, carefully paint the entire iris area, following the natural shape and contours.
To create depth and dimension, incorporate different shades of the base color. This can be achieved by adding a slightly darker shade around the outer edges of the iris and a lighter shade towards the center. Gradually build up these color variations, blending them seamlessly for a natural look. Don’t forget to leave a thin border of the base color between the iris and the white of the eye.
The pupil, located at the center of the iris, adds further realism to the eyes. To paint the pupil, use a small, pointed brush and a dark color, such as black or a dark brown. Carefully apply the paint, ensuring that the pupil is centered and proportional to the iris. Remember to leave a small portion of the iris visible around the edges of the pupil, mimicking the natural appearance.
Creating reflections in the eyes can also enhance their realism. To achieve this effect, carefully paint tiny highlights or catchlights on the iris. These reflections can be indicated by small dots or lines that mimic the light source or glimmering reflections.
Remember, practice is key when it comes to painting the iris and pupil. Experiment with different colors, shading techniques, and reflection placements to find what works best for your desired effect.
| Iris and Pupil | Techniques |
|---|---|
| Choose a base color for the iris | Realistic color variations |
| Incorporate darker and lighter shades | Building depth and dimension |
| Leave a border between iris and white of the eye | Natural look and proportion |
| Use a small, pointed brush for the pupil | Dark color for a centered appearance |
| Create reflections or catchlights | Enhancing realism and lifelike appearance |
Adding Lashes and Eyebrows
When it comes to painting miniature eyes, adding lashes and eyebrows can significantly enhance the character and definition of the eyes. These delicate features can bring your miniatures to life and make them stand out on the tabletop. In this section, we’ll explore different techniques for painting lashes and eyebrows, focusing on brush control and layering to achieve realistic results.
To paint lashes, start by using a fine-tipped brush and dipping it into a dark color, such as black or dark brown. Carefully apply short and thin strokes along the upper and lower lash lines, gradually building up the thickness and length of the lashes. For a more natural look, vary the length and direction of the strokes to mimic the irregularity of real lashes. Remember to keep a steady hand and take your time to ensure precision.
When painting eyebrows, choose a color that matches the hair color of your miniature. Use a small brush to create thin lines that follow the natural shape and direction of eyebrows. Start with light strokes and gradually darken and add density as needed. If desired, you can also create individual brow hairs by using a lighter color and painting tiny strokes in the direction of hair growth.
Layering is a useful technique for achieving depth and dimension in lashes and eyebrows. Apply lighter shades of color over the base layer to create highlights and add texture to the lashes and brows. This technique helps to give them a more three-dimensional appearance and makes them look more realistic.
Top Tips for Painting Lashes and Eyebrows:
- Practice: Lashes and eyebrows can be challenging to paint, especially when working with small miniatures. Take your time, practice on spare miniatures or paper, and gradually refine your technique.
- Use the Right Brush: A fine-tipped brush with good control is essential for painting delicate features like lashes and eyebrows. Choose a brush with a pointy tip that can create thin, precise strokes.
- Start Light: When painting lashes and eyebrows, it’s easier to add more color and definition gradually. Begin with lighter strokes and gradually build up the intensity and thickness.
- Observe Realistic References: Look at reference photos or study real lashes and eyebrows to understand their structure and patterns. Pay attention to the natural variations and irregularities present in real hair.
- Practice Layering: Layering lighter shades over the base color can add depth and texture to lashes and eyebrows. Experiment with different colors and hues to achieve a more lifelike appearance.
By mastering the art of painting lashes and eyebrows, you can bring a new level of realism and expression to your miniature eyes. Take the time to practice and experiment with different techniques, and soon you’ll be able to create stunning eyes that captivate and engage viewers.
Fine-Tuning and Refining the Eye
Once the basic structure and colors are in place, it’s time to refine the miniature eyes and give them a polished, realistic look. This stage involves fine-tuning and correcting any mistakes or imperfections that may have occurred during the previous steps.
Tips for Touch-Ups
Inspect the painted eyes carefully and identify areas that need touch-ups. Use a small brush and the appropriate color to cover any smudges, stray lines, or areas where the paint has gone outside the desired shape. Take your time and be patient, as precision is key to achieving professional-looking results.
Blending Techniques
To create a seamless transition between different colors and shades, employ blending techniques. Use a clean brush or a damp brush to gently blend the colors together, creating smooth transitions and avoiding harsh lines. This technique can enhance the depth and realism of the eyes.
Tip: For a more advanced blending technique, try wet blending. This involves mixing wet paint directly on the miniature, allowing for smoother color transitions and gradients. Experiment with the technique on a spare piece before attempting it on the eyes.
Adding Final Details
Pay attention to the small details that can make a significant difference in the overall appearance of the miniature eyes. Use a fine-tipped brush to add highlights to the iris, giving it a glossy and reflective look. Additionally, consider adding subtle veins or blood vessels to enhance the realism of the eyes.
Multiple Layers and Depth
Building up the colors and layers gradually can add depth and dimension to the eyes. Apply thin layers of paint, allowing each layer to dry completely before adding the next. This technique creates a sense of depth and brings the eyes to life.
Remember to step back and assess the miniature eyes from different angles and distances. This will provide valuable insights into the overall effect and help identify any areas that may need further refinement.
By fine-tuning and refining the eyes, you can elevate your miniature painting to a higher level of mastery. The tips and techniques shared in this section will help you achieve stunning and realistic eyes that captivate and bring your miniatures to life.
Adding Reflective Highlights
When it comes to miniature eye painting, adding reflective highlights is a crucial step that can bring your miniatures to life. These subtle reflections on the iris and other glossy surfaces can create a captivating effect that adds depth and realism to the eyes. In this section, we will guide you through the process of applying reflective highlights to enhance the overall appearance of your miniature eyes.
Choosing the Right Colors
The first step in adding reflective highlights is selecting the appropriate colors. You want to choose shades that complement the existing colors on your miniature’s eyes and provide a realistic reflection effect. Consider using lighter shades of the base color to create a highlight and blend it seamlessly into the iris.
For example, if your miniature’s eyes have a blue iris, you can use a light blue or even a white shade for the reflective highlight. On the other hand, if the iris is brown, opt for a lighter brown or beige tone for the highlight.
Applying the Reflective Highlight
Once you have chosen the appropriate colors, it’s time to apply the reflective highlight. Begin by loading a small brush with the chosen color and gently dab it onto the desired area of the iris. Aim to create a small, concentrated dot or shape on the iris that resembles the reflection of light.
Keep in mind that the reflective highlight should not cover the entire iris but rather be strategically placed to mimic the way light hits the eyes. Less is more when it comes to creating realistic reflective highlights.
Blending and Smoothing
To ensure a seamless integration of the reflective highlight into the iris, you need to blend and smooth the colors. Use a clean, dry brush or a brush with a small amount of medium to gently blend the highlight into the surrounding colors. Make soft, circular motions to achieve a natural transition between the highlight and the rest of the iris.
Take your time during this step and observe how the colors blend together. If needed, you can always add more base color to the iris and repeat the blending process until you achieve the desired effect.
Finishing Touches
Once you are satisfied with the placement and blending of the reflective highlight, you can add some final touches to enhance its realism. Use a fine-tipped brush to add small details and highlights to the highlight itself, simulating tiny reflections or catching light. These details will further elevate the lifelike appearance of the miniature eyes.
Remember to step back occasionally and assess your work from a distance to ensure that the reflective highlights look realistic and blend seamlessly with the rest of the eye.
| Key Tips for Adding Reflective Highlights: |
|---|
| Choose colors that complement the iris and provide a realistic reflection effect. |
| Apply the reflective highlight sparingly and strategically to mimic natural light reflections. |
| Blend and smooth the colors for a seamless integration into the iris. |
| Add final details and highlights to enhance the realism of the reflective highlight. |
Finishing Touches and Sealing
Once you have completed painting the eyes of your miniature, it is important to take the necessary steps to protect your hard work and ensure its longevity. This section will guide you through the final touches and sealing process, providing a complete mini eye painting guide.
Touch-ups and Detailing
Before sealing the miniature, it’s a good idea to inspect the eyes and make any necessary touch-ups or refinements. Use a fine-tipped brush and carefully correct any mistakes, add highlights, or enhance the details. This attention to detail will greatly contribute to the overall realism and quality of your miniature eye painting.
Applying a Sealant
Sealing your miniature is crucial to protect the eyes and ensure their durability. To seal the painted eyes, you can use either a brush-on sealant or a spray sealant. Brush-on sealants allow for more precision and control, while spray sealants provide quick and even coverage.
Choose a high-quality sealant specifically designed for miniature painting. Make sure to follow the manufacturer’s instructions and apply the sealant in thin, even layers. This will help to preserve the colors, prevent smudging, and protect the eyes from accidental damage.
Final Finishing Touches
After sealing the eyes, you may want to add some final touches to enhance the overall look of your miniature. This could include highlighting other facial features, applying a wash to add depth, or adding subtle details like glimmers of reflection in the eyes.
Take your time to experiment and find the finishing touches that best suit your miniature’s character and style. These additions will elevate the overall appearance and make your eye-painted miniature truly stand out.
| Supplies | Recommendation |
|---|---|
| Brush-on sealant | Ardcoat by Citadel |
| Spray sealant | Testor Dullcote |
| Small fine-tipped brush | Winsor & Newton Series 7 Miniature Paint Brush |
| Wash | Agrax Earthshade by Citadel |
| Reflective paint | Tamiya X-22 Clear Gloss |
Conclusion
This article has provided a comprehensive step-by-step guide on how to paint miniature eyes with precision and expressiveness. By understanding the anatomy of the eye and applying various techniques, such as blocking in the eye shape, adding highlights and shadows, and painting the iris and pupil, you can achieve realistic and lifelike results in your miniature painting projects.
It is important to remember that practice is key to mastering the art of miniature eye painting. Take the time to experiment with different color schemes and styles, allowing yourself to develop your own unique eye painting skills. Don’t be afraid to make mistakes, as they can provide valuable learning experiences and opportunities to refine your technique.
Whether you are a beginner or an experienced miniature painter, the tips and techniques outlined in this guide can help you take your eye painting to the next level. With patience, attention to detail, and a passion for the craft, you can create captivating and realistic eyes that bring your miniatures to life. So pick up your brush, unleash your creativity, and embark on the exciting journey of painting miniature eyes!