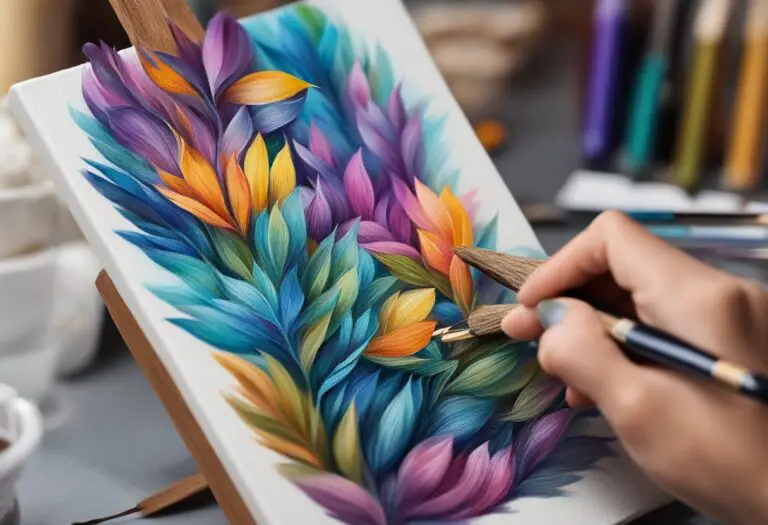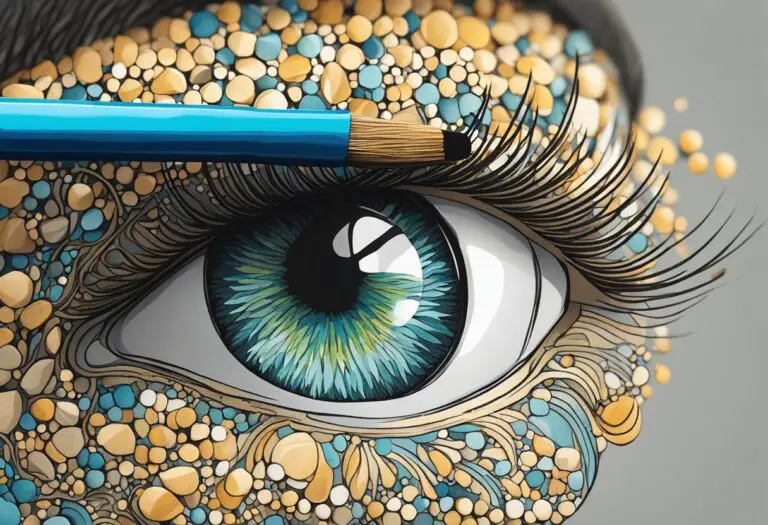
Blending techniques for Miniature Painting
Mastering the art of blending is essential for any miniature painter looking to elevate their skills and create stunning, lifelike results. Blending techniques allow for smooth transitions between colors and the creation of vivid details, enhancing the overall appearance of miniatures.
In this article, we will explore a range of blending techniques and provide valuable tips to help you perfect your miniature painting. Whether you’re a beginner or an experienced painter, these techniques will take your miniatures to the next level.
By understanding the basics of blending, such as color theory, paint consistency, and brush control, you can achieve seamless blends on your miniatures. We will delve into these foundational aspects, giving you the knowledge necessary to create smooth transitions and vibrant colors.
Furthermore, we will explore wet blending, a technique that allows you to blend paint directly on the miniature’s surface. Our step-by-step tutorial will guide you through the process, including paint mixing, layering, and brush techniques, resulting in breathtaking blends.
Glazing, layering, and feathering techniques will also be covered, as they play a crucial role in adding depth and realism to your blends. We will show you how to layer translucent colors, create subtle transitions, and feather the edges for a natural blend.
Additionally, we understand that different textures and objects require specific blending approaches. Whether you’re painting rough terrain, smooth armor, or organic materials, we will provide guidance on adapting your blending techniques to ensure outstanding results.
Throughout the article, we will address common blending issues and provide troubleshooting tips to help you overcome challenges like streaky blends or muddiness. We want to ensure that you have the tools and knowledge to achieve the desired results.
Lastly, we will explore how to enhance your blends through highlighting and shading techniques, adding an extra layer of realism and creating visually appealing miniatures. By strategically applying highlights and shadows, you can accentuate blended areas and create a captivating final result.
So, whether you’re a miniature painting enthusiast or a professional looking to refine your skills, this article is your guide to mastering blending techniques. Practice, experiment, and unleash your creativity to achieve stunning and lifelike miniatures that will capture attention and admiration.
Understanding the Basics of Blending
When it comes to achieving stunning and lifelike results in miniature painting, mastering blending techniques is crucial. Blending allows for seamless transitions between colors, adding depth, and enhancing the overall appearance of the miniature. In this section, we will explore the foundational aspects of blending, equipping you with the knowledge needed to create smooth and vibrant blends on your miniatures.
Understanding Color Theory:
Color theory is the backbone of blending techniques for miniature painting. By comprehending how colors interact and mix, you can effectively create harmonious and realistic blends. Familiarize yourself with concepts such as color wheel, complementary colors, and color temperature. This understanding will guide you in selecting colors for blending and achieving the desired results.
Brush Control:
Brush control is paramount in achieving seamless blends on miniatures. The brush must be handled with precision and a light touch to smoothly transition colors. Practice controlling the pressure, angle, and movement of your brush to achieve the desired effect. Remember that the smaller the miniature, the finer the brushwork required for optimal blending.
Paint Consistency:
Consistency is key to successful blending. Different techniques require different paint consistencies, so it’s important to experiment and find what works best for each blending method. Thin your paints appropriately using a mix of paint and water or a suitable medium. Maintaining consistent paint consistency ensures smooth color transitions without unwanted texture or streaks.
Remember, mastering the basics of blending techniques for miniature painting sets the foundation for creating exceptional and realistic paintwork. By understanding color theory, developing brush control skills, and maintaining consistent paint consistency, you’ll be well on your way to achieving seamless and captivating blends on your miniatures.
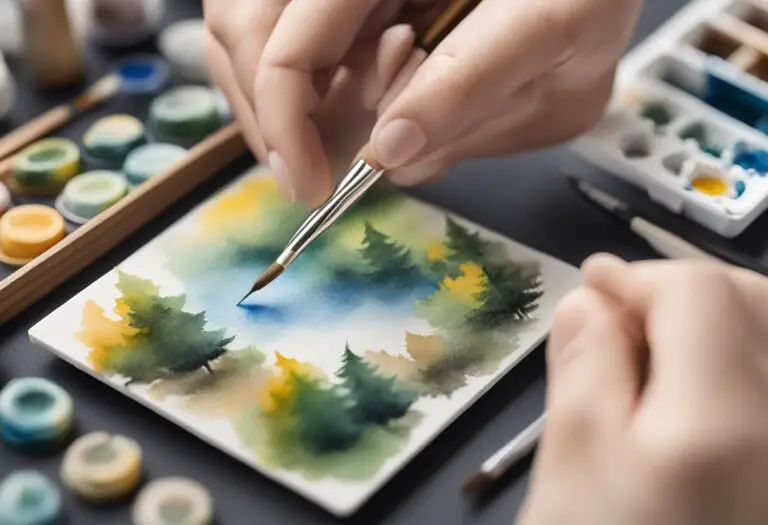
Wet Blending for Miniatures
Wet blending is an essential technique for achieving smooth transitions and vibrant colors in miniature painting. By mastering this technique, miniaturists can create lifelike blends that add depth and realism to their models. In this section, we will explore the step-by-step process of wet blending for miniatures, including proper paint mixing, layering, and brush techniques.
Proper Paint Mixing
The first step in wet blending is to prepare the paints. It is crucial to work with a wet palette or a palette with a damp surface, as this will prevent the paints from drying too quickly. Start by selecting the colors you want to blend and place small amounts of each color on the palette. Use a brush to mix the colors together, working in small, controlled strokes until you achieve a smooth transition from one color to the other.
Layering Techniques
Once the paints are properly mixed, it’s time to start layering them on the miniature. Begin by applying a base layer of one color to the desired area. Next, load your brush with a small amount of the second color and apply it to the edge of the first color. While the paints are still wet, use a blending brush or a clean, damp brush to gently blend the two colors together, creating a seamless transition. Repeat this process, layering and blending the colors until you achieve the desired effect.
Brush Techniques
Brush control is crucial when it comes to wet blending. To achieve smooth transitions, it is important to use a soft-bristled brush and apply gentle, controlled strokes. Avoid applying too much pressure or using a dry brush, as this can disrupt the wet paint and create an uneven blend. Remember to rinse your brush regularly to prevent the buildup of dried paint and to maintain a clean blending surface.
“Wet blending allows for greater control over color gradations and allows you to seamlessly blend colors together. With practice, this technique can elevate your miniature painting to the next level.” – Jason Lee, miniature painting enthusiast.
Tips and Tricks for Successful Wet Blending:
- Work in small areas at a time to ensure the paints remain wet.
- Experiment with different brush sizes and shapes to find the one that works best for you.
- Practice blending on a separate surface before applying it to your miniature.
- Don’t be afraid to mix in a little water to adjust the paint consistency, but be cautious not to dilute the colors too much.
- Take your time and be patient. Wet blending requires practice and experimentation to master.
By employing the wet blending technique, miniaturists can achieve stunning results with their miniature painting. This method allows for seamless transitions and vivid color blends, bringing the models to life. Remember, practice makes perfect, so don’t hesitate to try out different paint mixing ratios, layering techniques, and brush strokes to discover your own unique style.
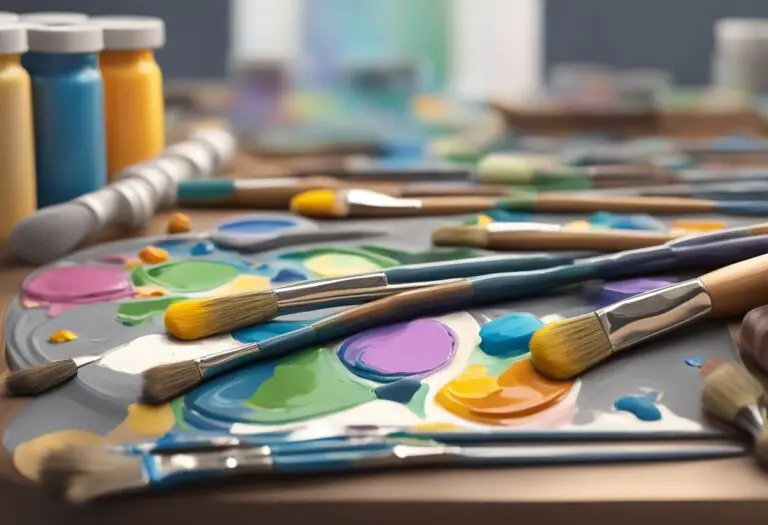
Glazing Techniques to Enhance Blends
One of the most effective ways to enhance blends in miniature painting is through the use of glazing techniques. Glazing involves applying thin layers of translucent paint on top of dry, blended areas to add depth and richness to the overall piece.
When it comes to glazing, there are various approaches that can be employed to achieve the desired effect. One technique involves thinning down the paint with a suitable medium, such as water or glazing medium, to create a more transparent consistency. This allows the underlying blended colors to show through, adding subtle variations and enhancing the overall blend.
Layering translucent colors is another approach to glazing. By carefully building up multiple layers with progressively lighter or darker shades, the artist can create a smooth transition of colors and intensify the depth of the blend. This technique requires patience and control to achieve the desired result.
Creating subtle transitions through glazing is also possible. By strategically applying the glaze in specific areas and gradually feathering out the edges, a seamless transition between colors can be achieved. This technique is particularly effective for creating smooth gradients in areas such as the sky, water, or skin tones.
Glazing is like adding a thin veil of color to your already blended areas. It can really take your miniature painting to the next level by providing richness and depth that is hard to achieve solely through traditional blending techniques.
Experimenting with different glazing techniques can lead to stunning results and offer new avenues of creativity in the world of miniature painting. Combine glazing with other blending techniques to further enhance the visual impact of your work. Remember, practice and patience are key in mastering these techniques.
Benefits of Glazing Techniques:
- Enhances depth and richness in blended areas
- Allows variations and subtle transitions in colors
- Provides control over the intensity of blends
- Adds smooth gradients for realistic effects
- Expands creative possibilities and artistic expression
By incorporating glazing techniques into your miniature painting repertoire, you can elevate the quality of your blends and create visually captivating pieces that showcase your talent and skill.
Layering and Feathering for Seamless Blends
Layering and feathering techniques are invaluable for achieving smooth and flawless blends in miniature painting. By understanding and mastering these advanced techniques, painters can take their miniatures to a whole new level of detail and realism. This section provides in-depth guidance on layering and feathering, offering step-by-step instructions and insider tips to help you perfect your blending skills.
Layering Techniques
Layering involves building up multiple thin layers of paint to create gradual color transitions and smooth blends. By starting with a base layer and gradually adding thin layers of increasingly lighter or darker colors, you can achieve a more realistic and three-dimensional effect on your miniatures.
To utilize layering effectively, start with a well-thinned base layer that matches the desired mid-tone. Then, apply subsequent layers using slightly thinned paints, gradually transitioning to lighter or darker shades. Use a high-quality brush with a fine tip for precise control over the layers, ensuring that each layer covers the desired area without obscuring the preceding layers.
Remember, patience is key when layering. Allow each layer to dry before applying the next, and take your time to blend and smooth transitions between layers. This meticulous approach will result in a seamless blend that captivates the eye and adds depth to your miniatures.
Feathering Techniques
Feathering involves gently blending the edges of different colors to create a natural and subtle transition. This technique is particularly useful when blending two contrasting colors or achieving soft gradients in miniature painting.
Start by applying your base colors to the desired areas, ensuring a smooth and even coverage. Then, using a fine brush with barely any paint on it, lightly feather the edges where the colors meet. The goal is to create a soft, fade-out effect, gradually blending the colors together without any harsh lines or distinct boundaries.
To achieve more pronounced feathering, you can also employ a dry brushing technique. Load your brush with a small amount of paint, then remove most of the paint by wiping it on a paper towel or palette. Lightly brush the feathers over the edges of the colors, applying minimal pressure for a delicate blend.
Remember to practice and experiment with layering and feathering techniques to find the perfect balance and achieve the desired results. With time and dedication, you’ll be able to create seamless blends that elevate the quality and visual appeal of your miniature paintings.
Texture and Object Specific Blending
Blending techniques play a crucial role in miniature painting, allowing artists to achieve seamless transitions and lifelike detail. However, it’s important to adapt these techniques based on the texture and objects you’re painting. Whether you’re working on smooth armor, rough terrain, or organic materials, understanding how to adjust your blending approach can make a significant difference in the final result.
Adapting Blending Techniques for Different Surfaces
When painting miniatures with various textures, it’s essential to consider the surface characteristics and adjust your blending accordingly. For smooth armor, you’ll want to focus on creating smooth gradients and soft transitions. This can be achieved through controlled brush strokes and layering thin glazes of paint to build up the desired effect.
On the other hand, rough terrain requires a different approach. Here, you’ll want to emphasize texture and create the illusion of depth. By using dry brushing techniques, you can highlight the raised areas and create a sense of realism. Additionally, using washes and stippling can simulate weathered or rough surfaces.
When painting organic materials such as skin or fur, blending techniques can help capture the nuances and subtleties of these textures. Layering colors using glazing or wet blending can achieve realistic skin tones, while dry brushing can showcase the individual strands of fur.
Blending Techniques for Specific Objects
Miniature painters often encounter specific objects that require tailored blending techniques. Faces, for example, require careful attention to achieve a lifelike appearance. By utilizing layering, feathering, and strategic highlighting and shading, you can create realistic features and capture the essence of the individual.
Fabric is another common element in miniature painting that demands its own approach. Depending on whether you’re painting smooth silk or rough burlap, different blending techniques like glazing or dry brushing can be employed to mimic the texture and achieve the desired effect.
Metallic surfaces present a unique challenge in blending. To create the illusion of reflective metals, techniques such as layering, washes, or the use of metallic paints can be employed. The key is to carefully transition from dark to light areas, highlighting the curves and contours of the object.
Understanding the texture and objects you’re painting is essential in adapting blending techniques. By adjusting your approach and using the right techniques, you can create realistic and visually stunning effects on miniatures.
Troubleshooting Common Blending Issues
Blending can present challenges for miniature painters. Even the most skilled artists may encounter issues such as streaky blends, muddiness, or uneven transitions. However, with the right tips and techniques, these common problems can be overcome, allowing you to achieve the desired results in your miniature painting.
Identifying and Correcting Streaky Blends
Streaky blends can occur when the paint is not properly applied or when the brush strokes are too visible. To address this issue, ensure that you have a smooth consistency in your paints. Thin them down if necessary, and apply the paint in thin, even layers. Use a high-quality brush and practice controlled brush strokes to achieve a seamless blend.
Addressing Muddiness in Blends
Muddiness in blends can result from the colors becoming too mixed and losing their individuality. To avoid this issue, make sure to clean your brush thoroughly between color transitions. Additionally, work with a limited color palette and gradually build up the layers, allowing each color to dry before adding the next. This will help maintain the clarity and vibrancy of your blends.
Overcoming Uneven Transitions
Uneven transitions can occur when there is a stark contrast between adjacent colors, making the blend appear harsh or disjointed. To achieve smoother transitions, consider using a technique called “feathering.” Feathering involves gently blending the edges of the colors together using small, controlled brush strokes. This technique helps create a gradual and natural-looking blend between colors.
Expert Tip: If you’re struggling with blending issues, don’t be discouraged. Practice is key to improving your skills. Take your time, experiment with different techniques, and don’t hesitate to seek inspiration and guidance from other experienced miniature painters.
With these practical solutions and troubleshooting tips, you can overcome common blending issues in your miniature painting. Remember, achieving seamless blends takes practice and patience. By implementing these techniques and persevering through any challenges that arise, you’ll be well on your way to creating breathtaking miniatures with stunning blends.
Enhancing Blends with Highlighting and Shadows
Highlighting and shading techniques are key in taking blends on miniatures to the next level. By strategically applying highlights and shadows, you can accentuate the blended areas and achieve a more realistic and visually appealing result. Here are some tips to enhance your miniature painting:
1. Utilize Highlights
Highlights help to bring out the lighter areas and add dimension to your blends. Start by identifying the primary light source in your miniature and imagine where the light would naturally hit the raised areas. Use a lighter shade of the base color and carefully apply it to these areas, creating highlights that gradually blend into the surrounding colors.
“Highlights help to bring out the lighter areas and add dimension to your blends.”
2. Introduce Shadows
Shadows bring depth and contrast to your blends, creating a more realistic appearance. Identify the areas that would be in shadow, such as recesses or areas away from the light source. Use a darker shade of the base color or add a touch of complementary color to create shadows. Apply these shades with a controlled hand, ensuring they blend smoothly with the surrounding colors.
3. Layering for Depth
Layering can add depth and richness to your blends. Gradually build up layers of highlights and shadows, applying thin coats of paint and allowing each layer to dry before adding the next. This technique helps to create a smooth transition between colors and enhances the overall blend.
4. Blending Edges
To achieve a seamless transition between the blended colors and the highlights and shadows, feather the edges. Use a fine brush or a dry brush technique to softly blend the colors, ensuring there are no harsh lines. This will create a natural and gradual change in tones.
- Tip: Practice on a spare piece of material or a practice miniature before applying highlighting and shading techniques to your final work.
- Tip: Use references, such as photographs or real-life objects, to better understand how light and shadows interact with surfaces.
By mastering the art of highlighting and shading, you can elevate your blended areas in miniature painting, adding depth, realism, and visual interest. Experiment with different techniques and incorporate these tips into your painting process to enhance your skills and achieve stunning results.
Conclusion
In conclusion, mastering blending techniques is crucial for achieving outstanding results in miniature painting. Throughout this article, we have explored a variety of methods and tricks that can help elevate your painting skills to new heights. By understanding the basics of blending, experimenting with wet blending, employing glazing techniques, and utilizing layering and feathering, you can create seamless blends that bring your miniatures to life.
It’s important to remember that blending techniques may vary depending on the texture and objects being painted. Whether you’re working on smooth armor, rough terrain, or intricate details like faces and fabric, adapting your approach will ensure the best possible outcome. Additionally, troubleshooting common blending issues and enhancing blends with highlighting and shadows can take your miniatures from good to exceptional.
To further refine your miniature painting techniques, we encourage you to practice and experiment with the techniques covered in this article. Take the time to familiarize yourself with color theory, develop brush control, and refine your paint consistency. Through dedication and perseverance, you’ll be able to master these blending techniques and create miniature works of art that will impress and inspire others.